
I made some Dal the other day. It was a hit, but like me, my family doesn’t care for leftovers after the next day. Therefore, I decided to disguise the leftover Dal as a Paratha.
There are several ways to make Dal Ka Paratha:
- Cook Channa Dal (pigeon peas) with very little water so that it retains its shape. Then, continue to cook to dry off any remaining water, season it, and use it as a filling much like Aloo Paratha;
- Use leftover Dal, any kind, add a bit of minced onion, some salt and minced cayenne pepper (optional) and enough wheat flour to make a smooth dough; and, lastly,
- Use the discarded peels of split Mung Dal or Urad Dal (similar to Mung, but its peel is black) after it has soaked (the soaked and peeled Dal is used for other recipes), add a bit of minced onion, some salt and minced cayenne pepper (optional) and enough wheat flour to make a smooth dough.
Today, I am going for Option #2. My mother nowadays adds chopped spinach to the cooked dal and makes this dough exclusively to make her Rotis and filled Parathas. She feels she is getting more nutrition this way.
Prep time: 15 minutes
Rest time: 30 minutes
Cook time: 4 minutes
Dal Ka Paratha
- Leftover Dal
- 1/4-1/2 cup minced onion – depends on how much Dal you have
- 1-2 minced cayenne peppers – optional
- Salt to taste
- Enough wheat flour to make a smooth dough
MAKING THE DOUGH
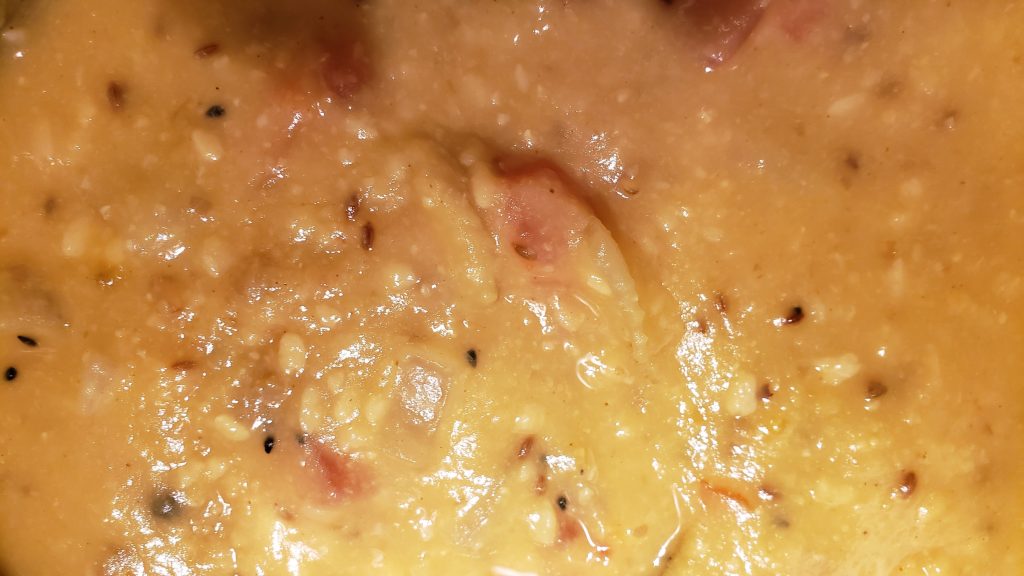
Leftover Dal, seasoned with cumin, minced onion, and tomato
1. Place the Dal in a large mixing bowl. Add the minced onion, cayenne pepper, and salt. Mix well.
2. Add just enough wheat flour to make a smooth dough. Knead it for 5-7 minutes. Let it rest for 30 minutes in the refrigerator.
ROLLING OUT THE PARATHA
1. Set up the area for rolling out the dough by placing the workspace near the Tava, or skillet or griddle. Put 1 cup of dry flour in a container for dusting.
2. Tear off a 2-inch ball of dough and roll it into the dry flour.
3. Flatten it out into a 4-inch diameter disk with either your fingers or a rolling pin.
4. Add a 1/2 teaspoon of oil or ghee to the disc of dough.
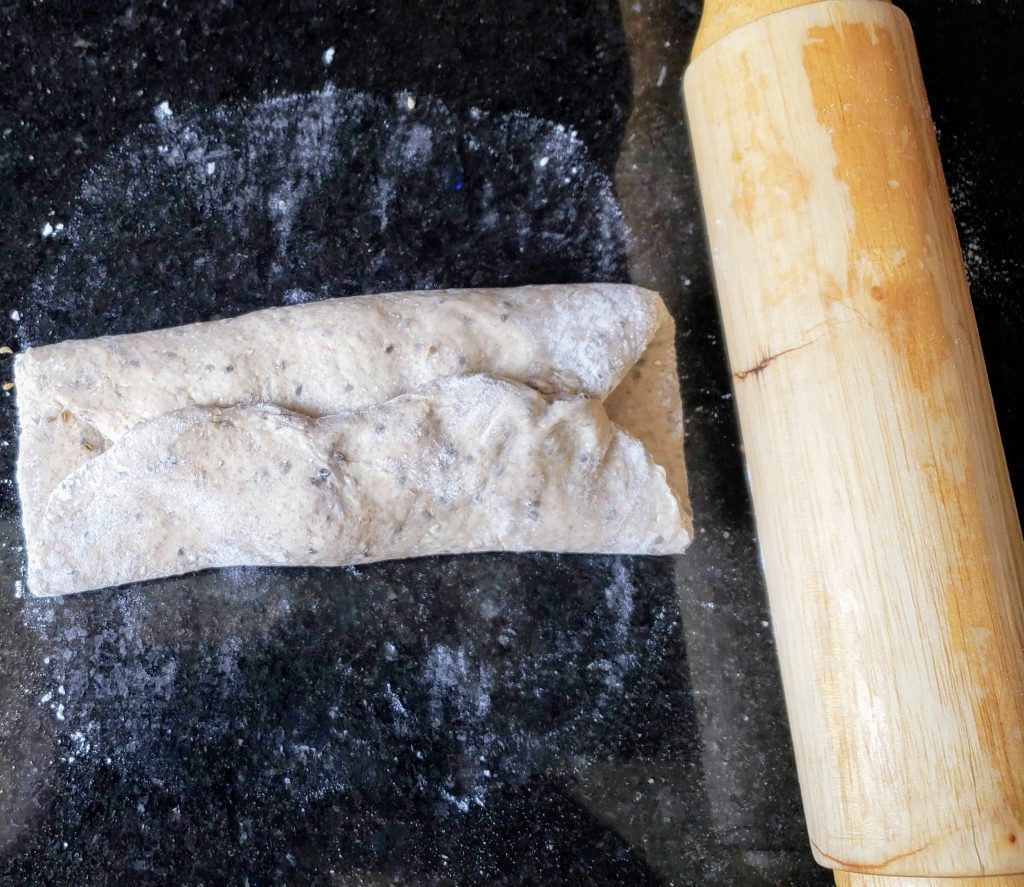
5. Fold dough over to form a semicircle. Fold in half again to form a triangular shape.
6. Roll out dough maintaining the triangular shape until it is about 7-inches long per side and 1/4-inch thick.
OR…
You could form a square shape, much like Ajwain Ka Paratha.
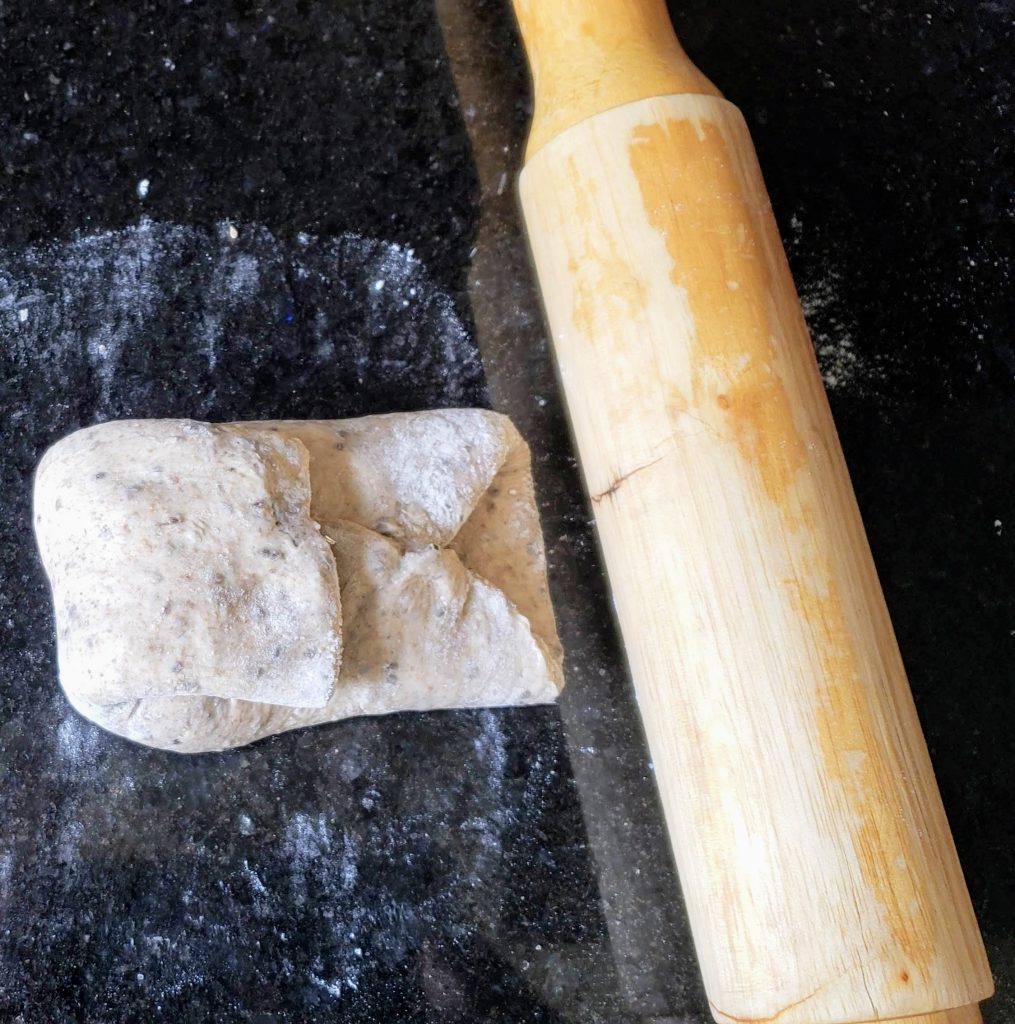
5. Fold the top half over to the center of the disc. Repeat with the bottom half of the disc.
6. Fold the left side of the disc to the middle and repeat with the right side. You should have a square-shaped filled dough.
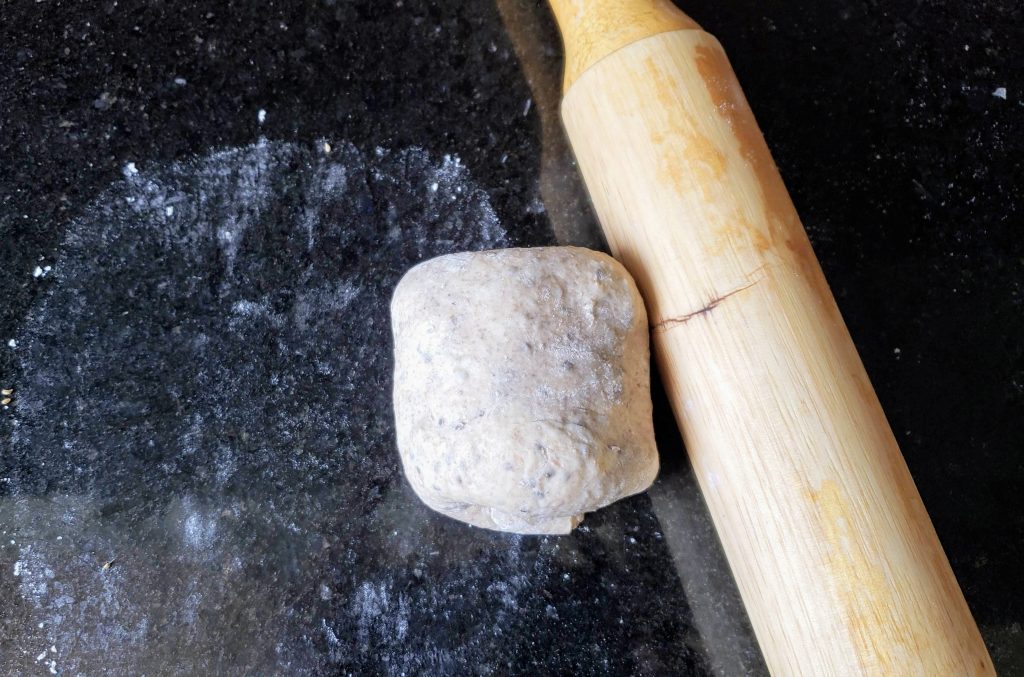
7. Place the stuffed dough seam-side down. Roll it out to double its size. Flip it 90 degrees and roll it out again all the while maintaining the square shape. Keep flipping and rolling until you have a 7-inch square about 1/4 -inch thick.
COOKING THE PARATHA
1. Heat up the Tava, or large cast-iron skillet, or griddle, or large non-stick skillet over medium-high heat.
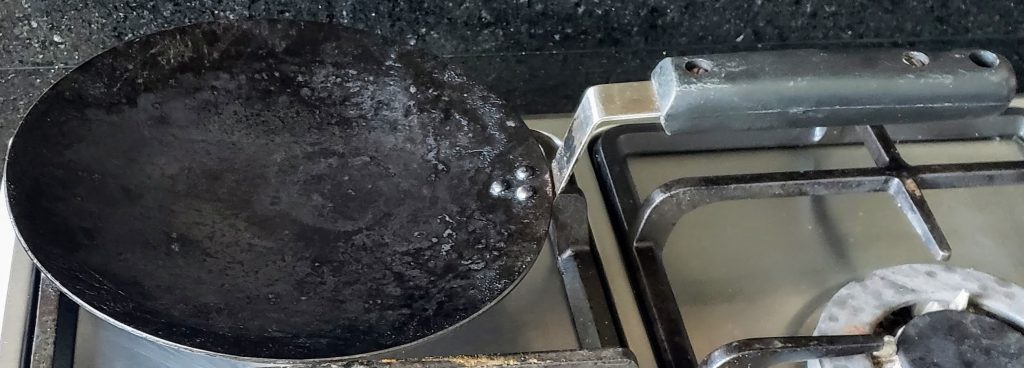
Tava
2. Pick up the rolled out dough and place it on the hot pan.
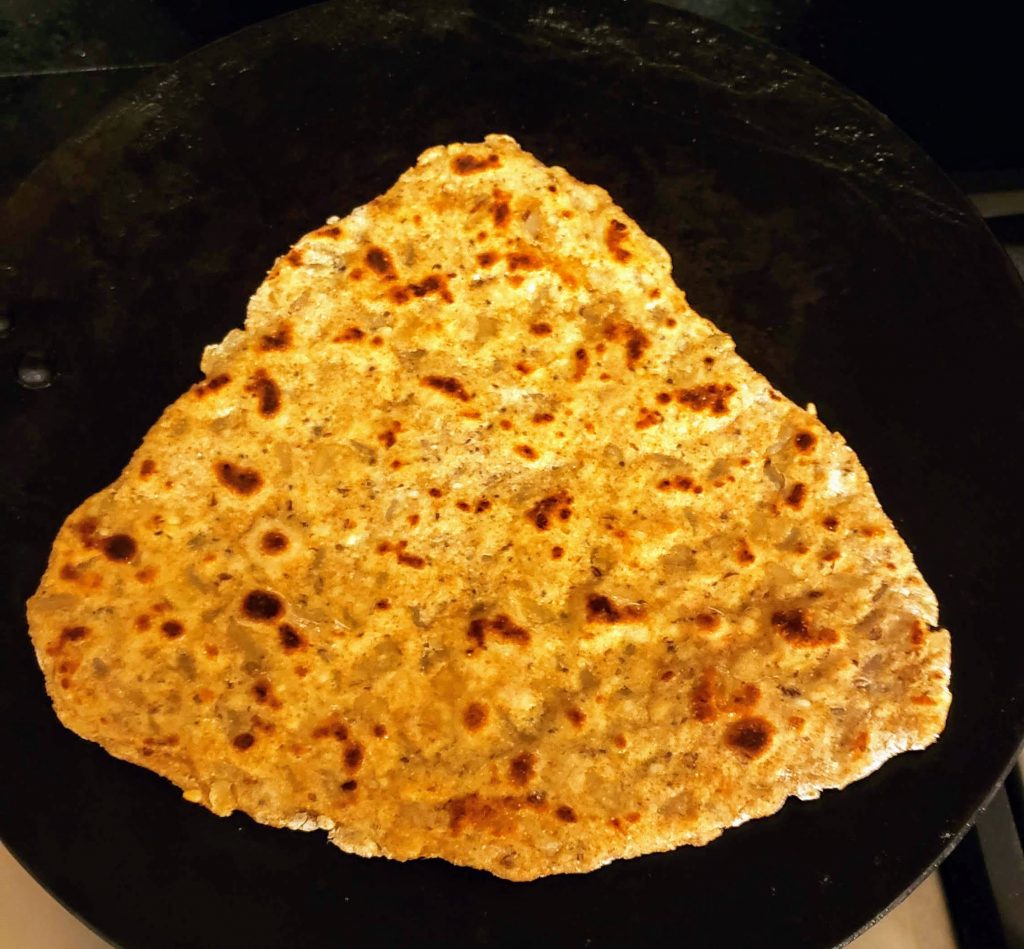
3. Let the paratha cook for about 1 1/2-2 minutes on one side and flip it. You can tell if it is ready to turn over by observing the edges of the dough. The paratha will appear drier at the top and the dusting of flour will not be present at the very edge as it cooks.
4. Let it cook for 2 minutes on the other side or until it is lightly dotted with brown spots. You don’t want to burn it. You may need to reduce the heat if you see scorching.
5. It is up to you, you can add a light coating of Ghee or oil to this side or leave it dry as I do.
6. Flip it back to the first side and continue to cook for another minute.
7. Again, it is up to you, you can add a light coating of Ghee or oil to this side or leave it dry as I do. However, if you do add the ghee, flip it again and cook it for a few seconds before removing it onto a plate for serving.
8. Eat it piping hot with a pat of butter and/or a cup of plain yogurt for dipping and/or a side of pickle.
Perfectly cooked when you see brown dots on both sides 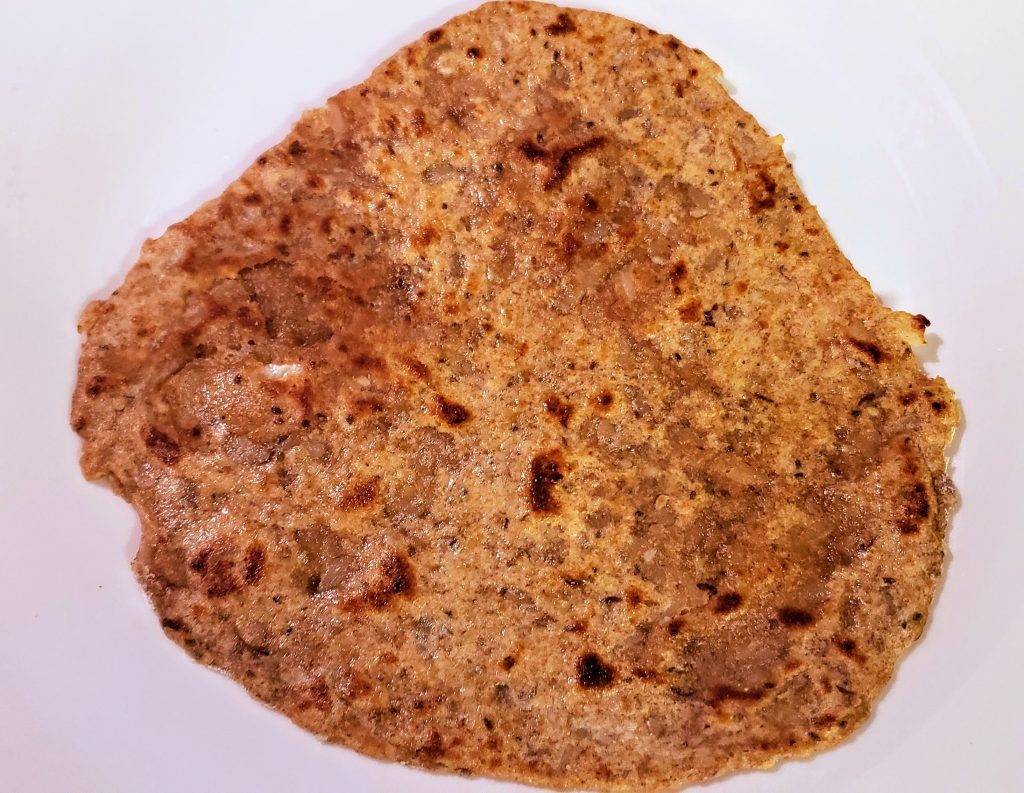
Written by Anju Kapur of Anju’s Table. All content and images on this site are copyright protected. Please do not use any of my images without my permission. Should you wish to share this recipe on your site, please add a link to this post as the source.
[…] Dry, cooked and seasoned pigeon peas (Chana dal) with the same seasonings as above without carom seeds – Dal Ka Paratha; […]