This is my Father’s favorite Paratha. He is my role model and I have tried to emulate him since I was young. Thus, this is also one of my favorite Parathas, second only to the white radish Paratha.
It is really easy to make as it requires no prep other than making the dough – pure wheat Atta. Click on the link to see the recipe for the dough.
Hands-on time: 15 minutes
Cook time: 4 minutes
MAKING THE PARATHA
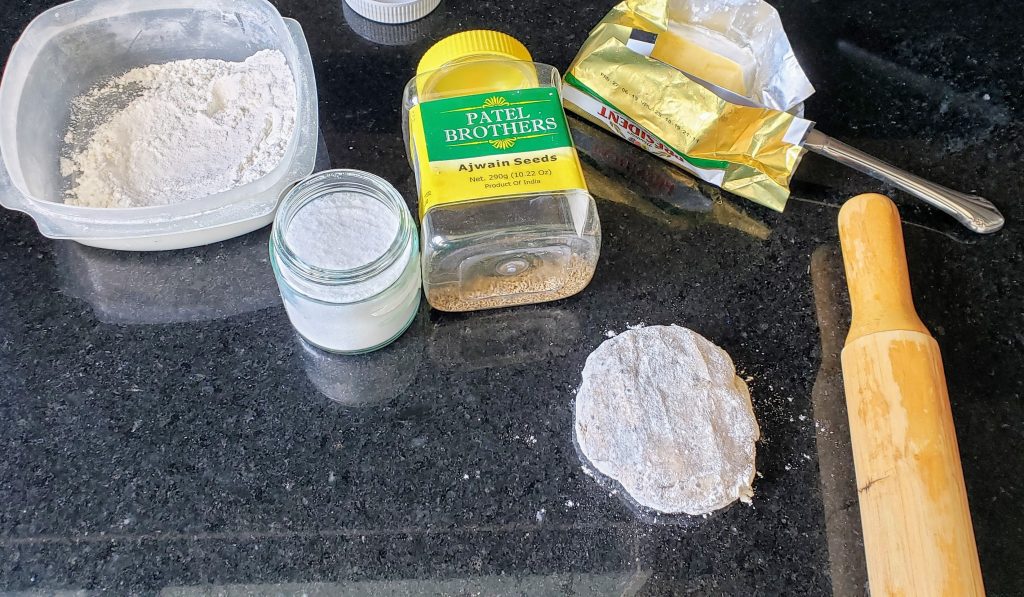
1. Set up the area for rolling out the dough by placing the workspace near the Tava, or skillet or griddle. Put 1 cup of dry flour in a container for dusting.
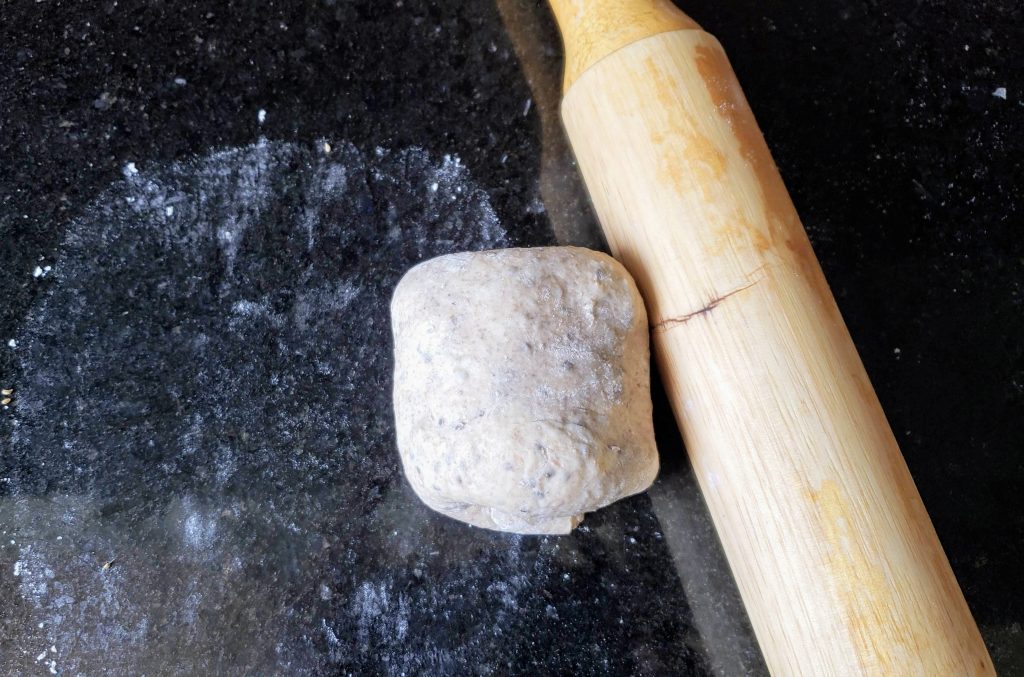
2. Tear off a 2-inch ball of dough and roll it into the dry flour.
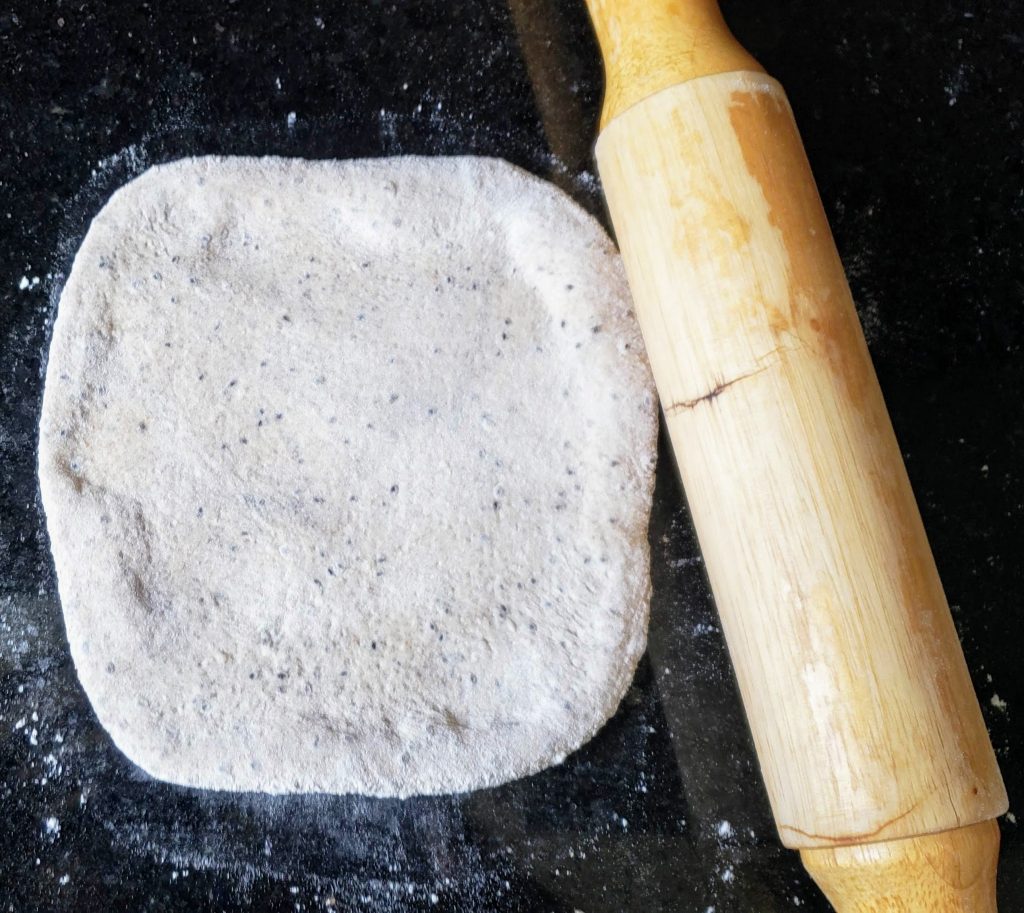
3. Flatten it out into a 4-inch diameter disk with either your fingers or a rolling pin.
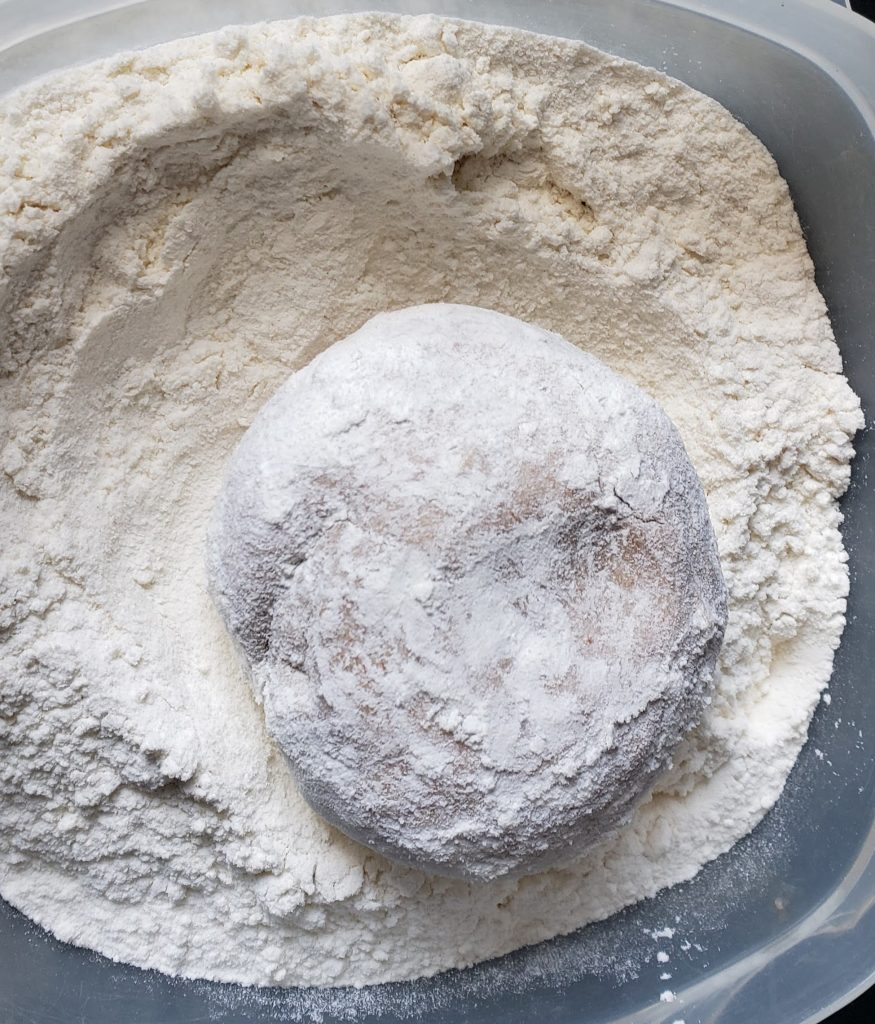
dusting the dough 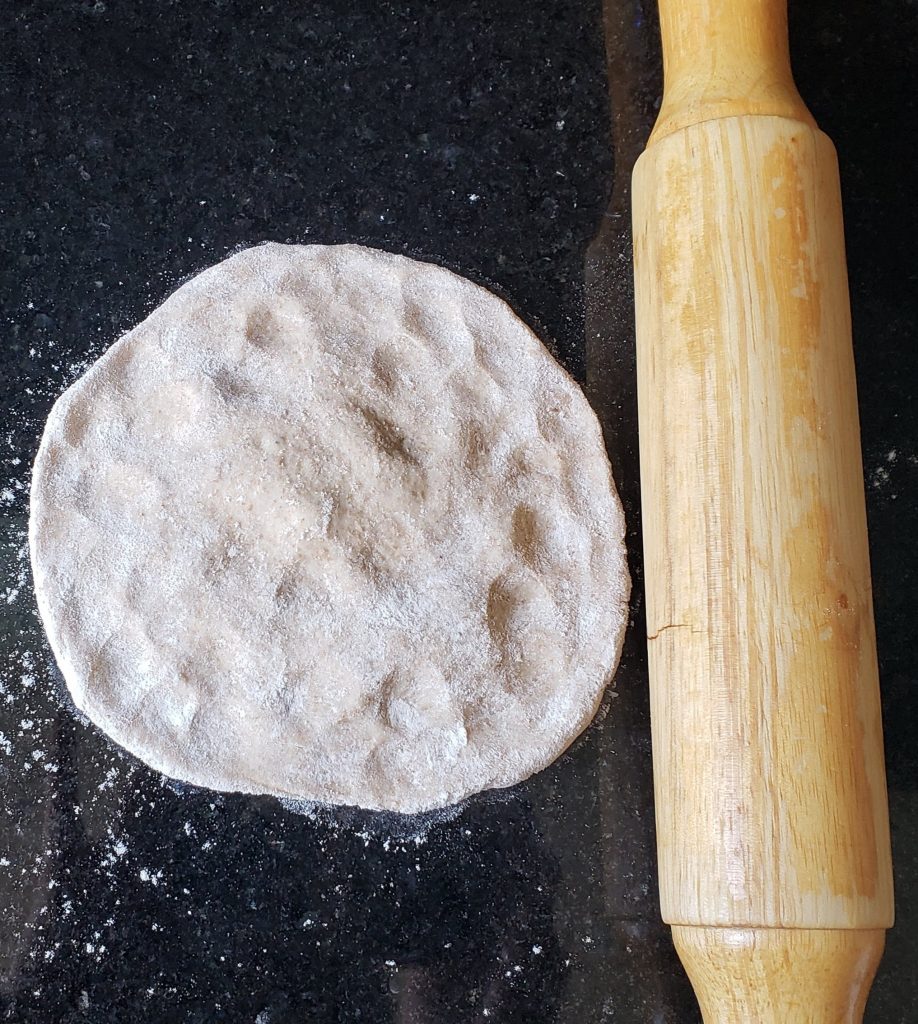
4-inch disk
4. Spread a 1/2 teaspoon of ghee or vegetable oil over the disc of dough, leaving a 1/2-inch border. Alternately, you can dot the dough with butter after you have spread the dry ingredients.
5. Spread the filling ingredients evenly over the disc of dough leaving a 1/2-inch border.
6. Fold the top half over to the center of the disc. Repeat with the bottom half of the disc.
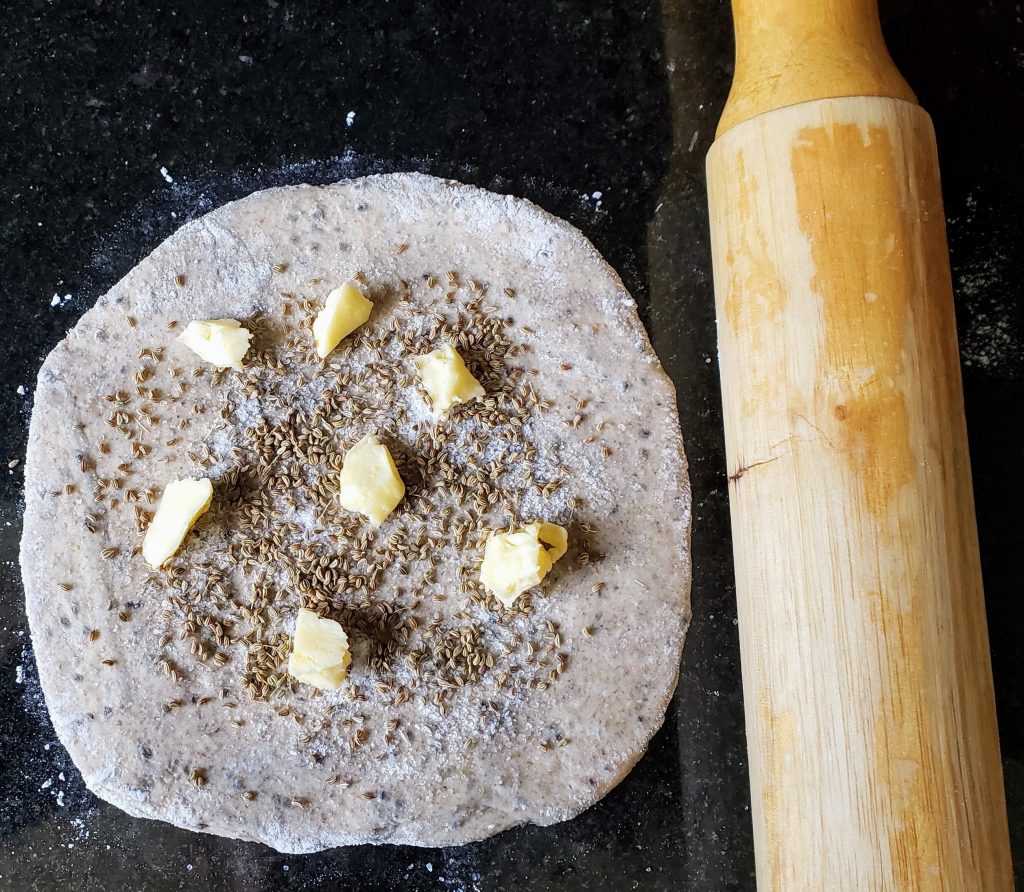
Ajwain, salt, and butter 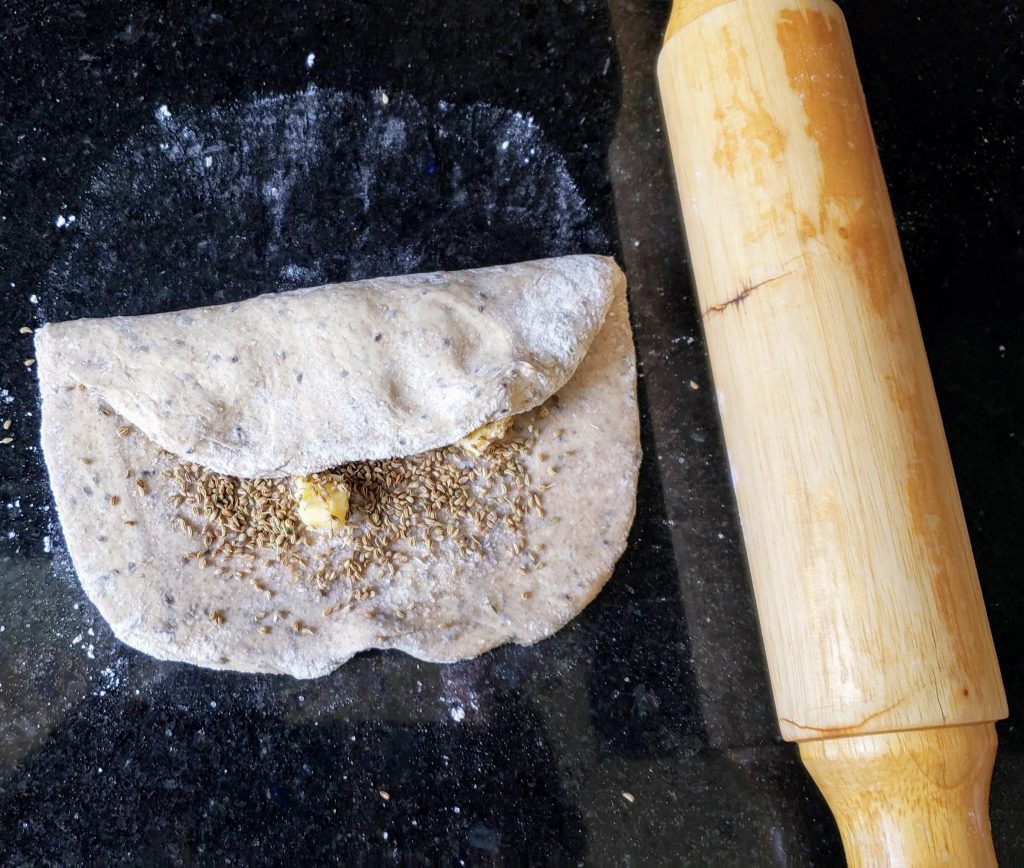
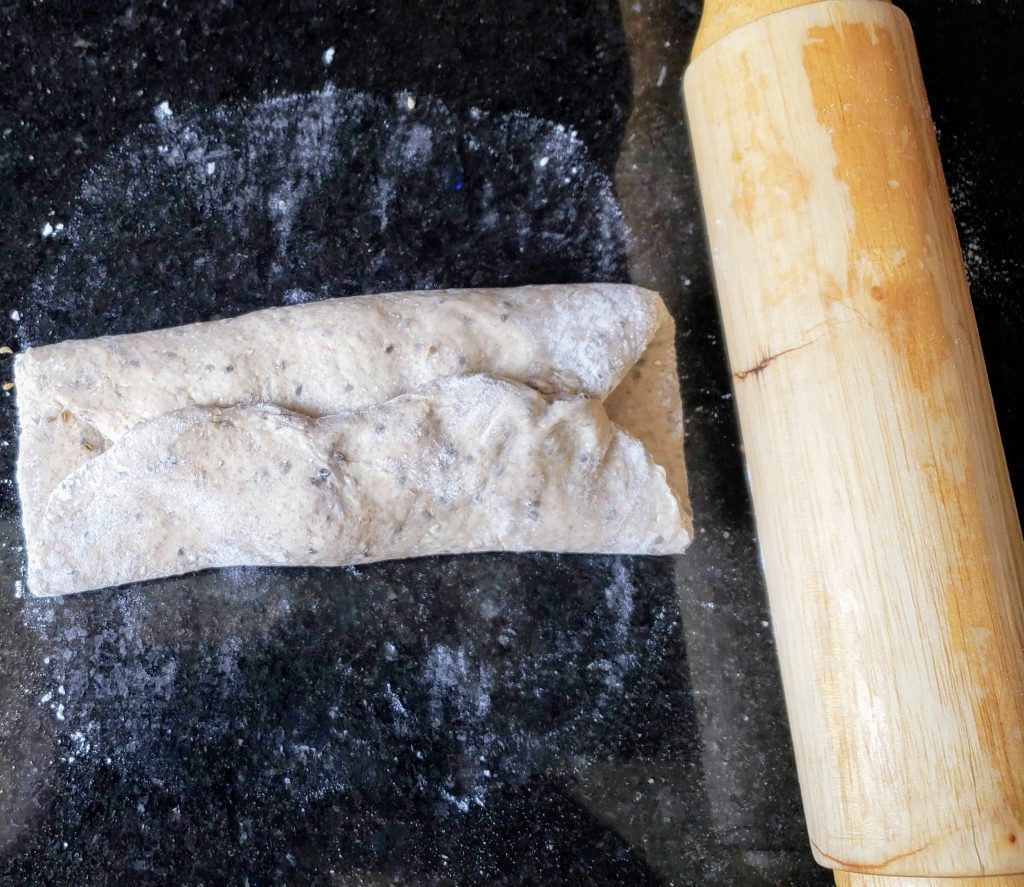
7. Fold the left side of the disc to the middle and repeat with the right side. You should have a square-shaped filled dough.
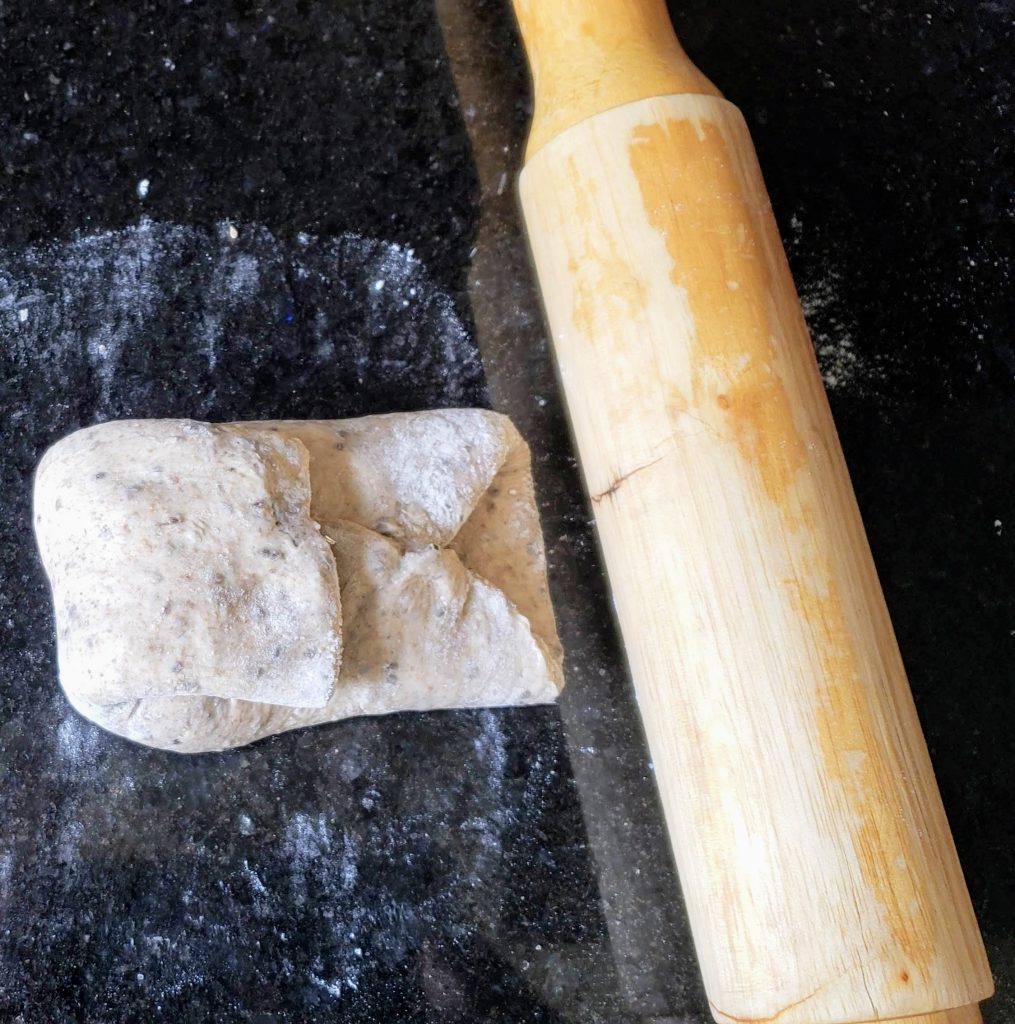
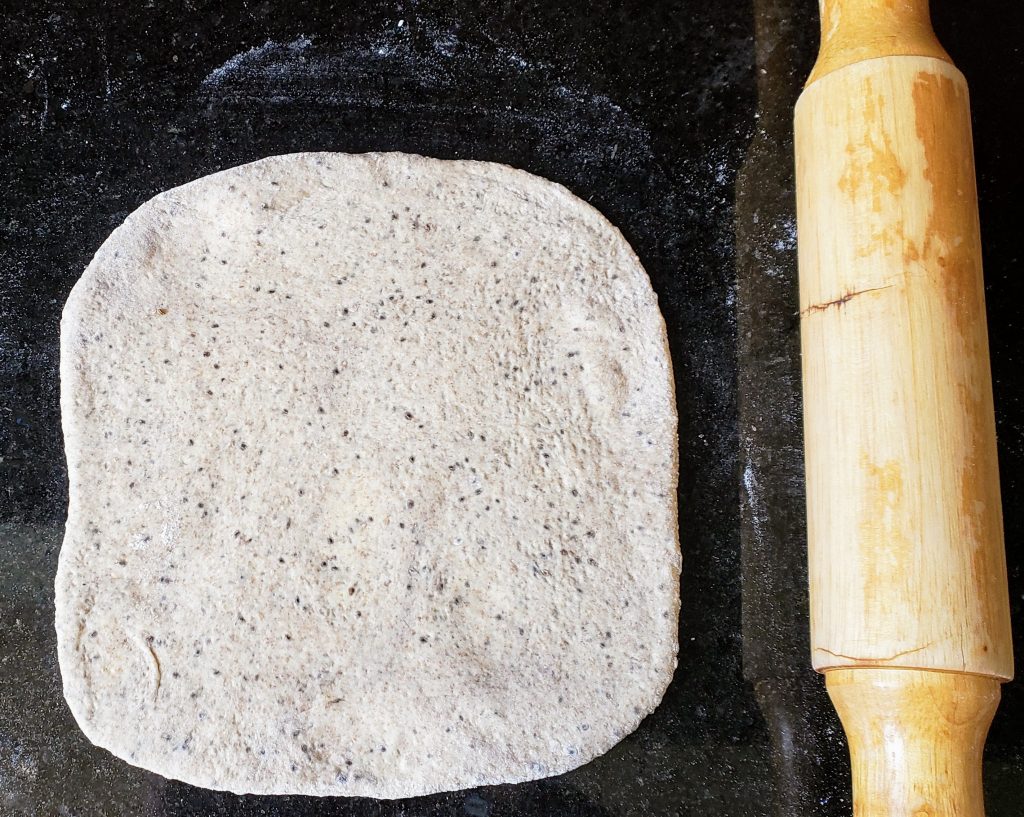
8. Place the stuffed dough seam-side down. Roll it out to double its size. Flip it 90 degrees and roll it out again all the while maintaining the square shape. Keep flipping and rolling until you have a 7-inch square about 1/4 -inch thick.
COOKING THE PARATHA
1. Heat up the Tava, or large cast-iron skillet, or griddle, or large non-stick skillet over medium-high heat.
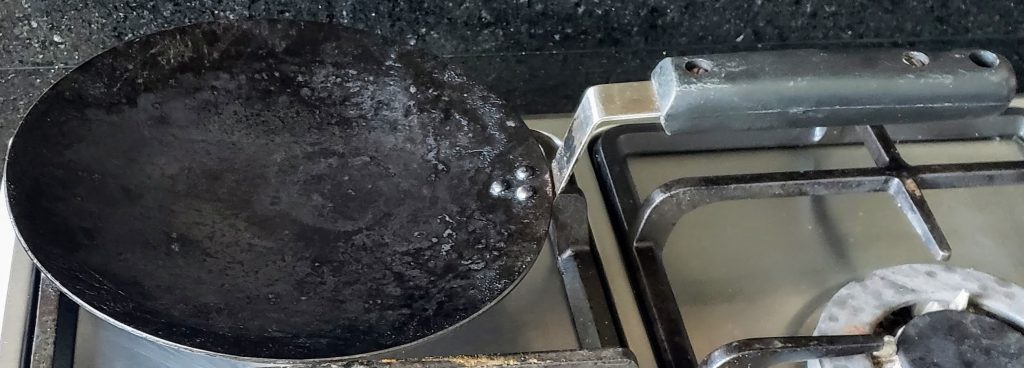
Tava
2. Pick up the square of dough and place it on the hot pan.
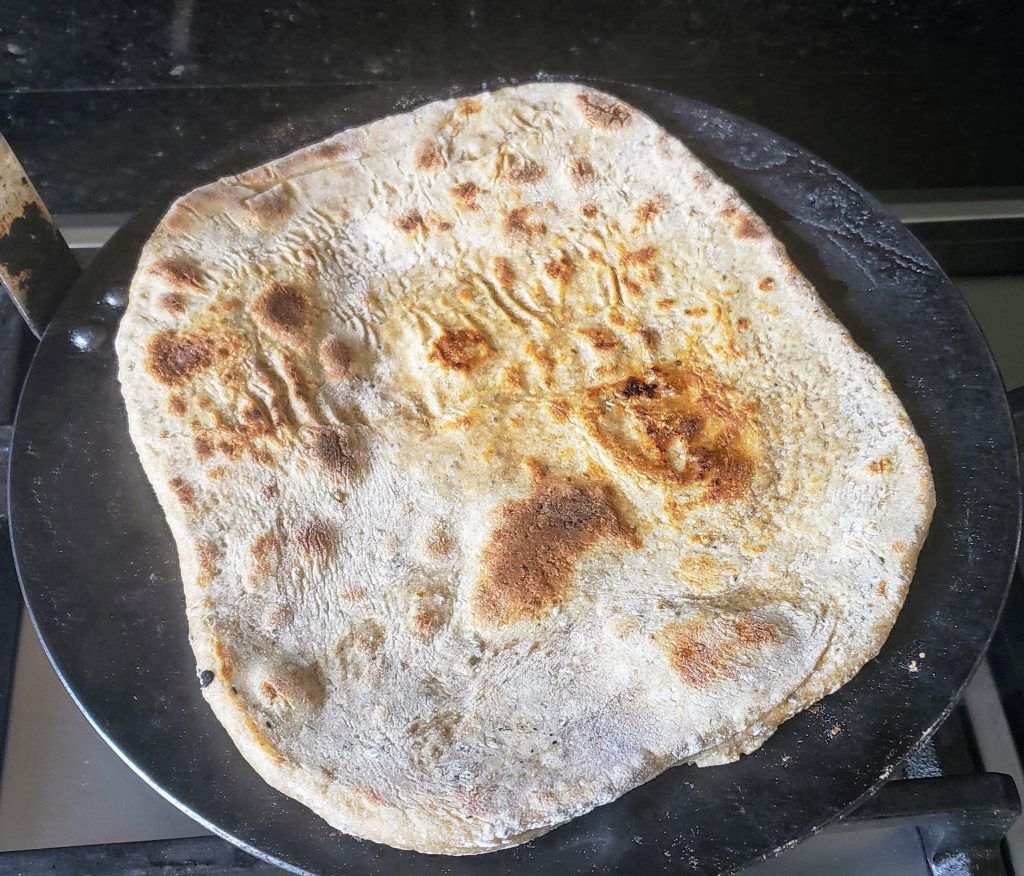
3. Let the paratha cook for about 1 1/2-2 minutes on one side and flip it. You can tell if it is ready to turn over by observing the edges of the dough. The paratha will appear drier at the top and the dusting of flour will not be present at the very edge as it cooks.
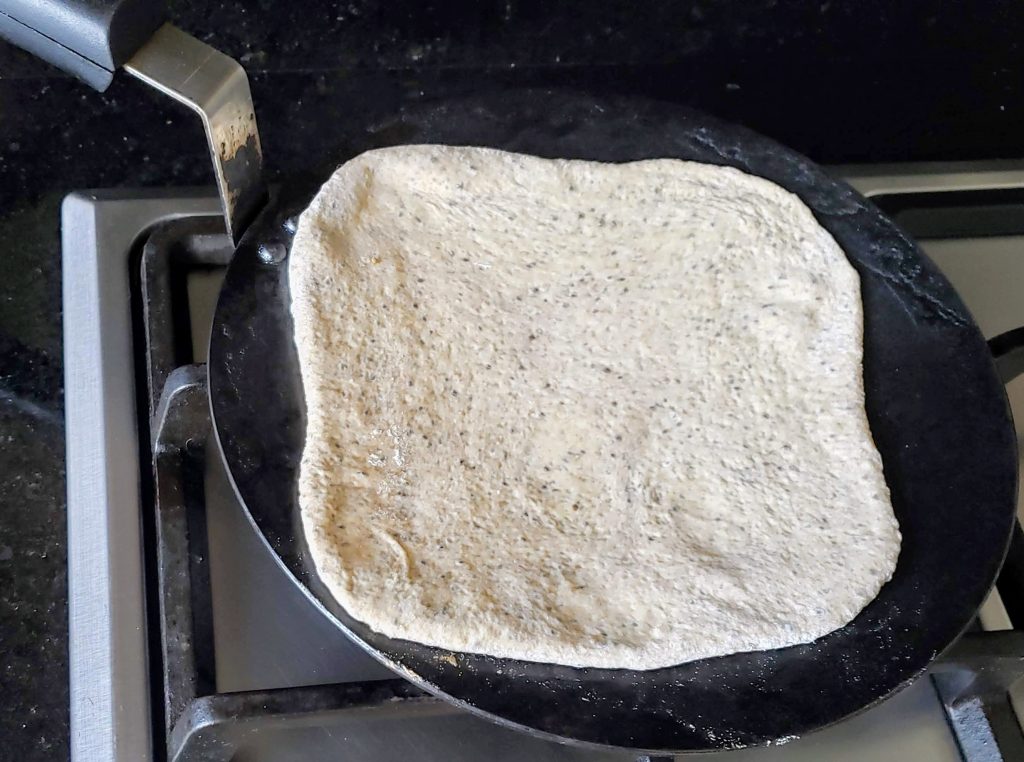
Initially 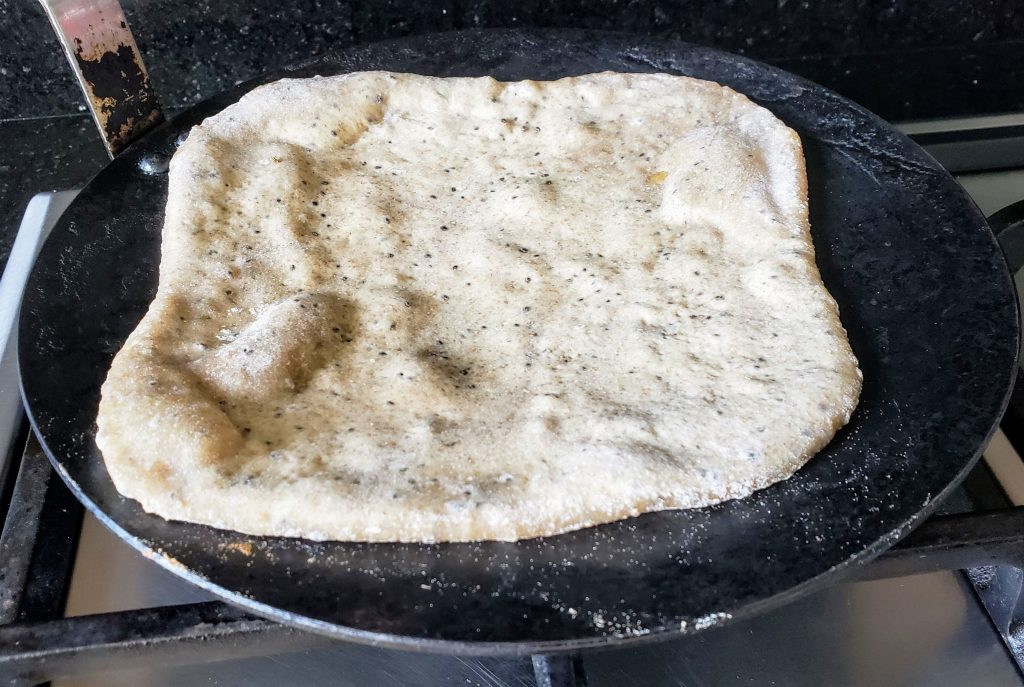
Edges have no dry flour 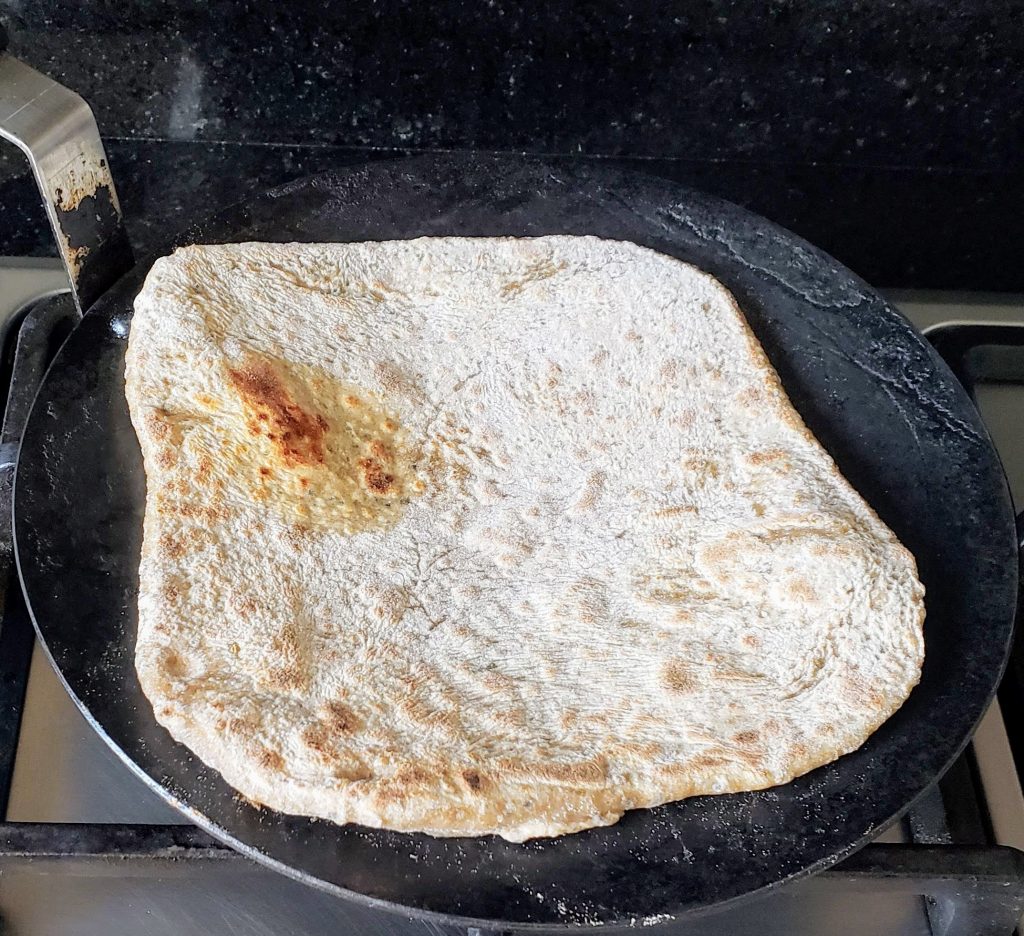
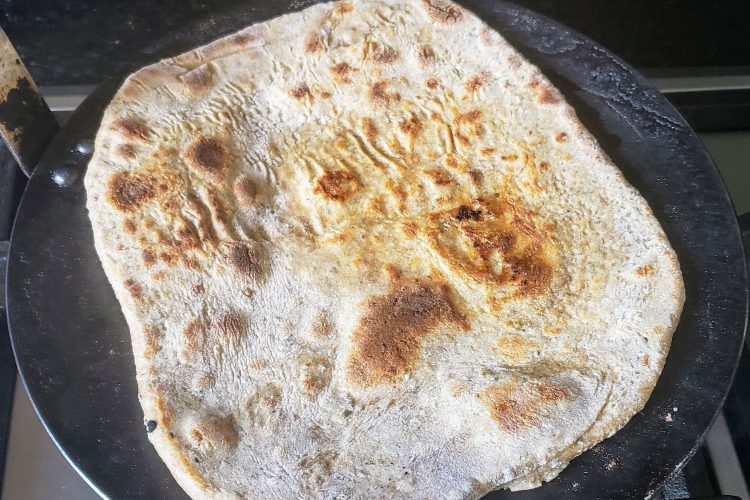
4. Let it cook for 2 minutes on the other side or until it is lightly dotted with brown spots. You don’t want to burn it. You may need to reduce the heat if you see scorching.
5. It is up to you, you can add a light coating of Ghee or oil to this side or leave it dry as I do.
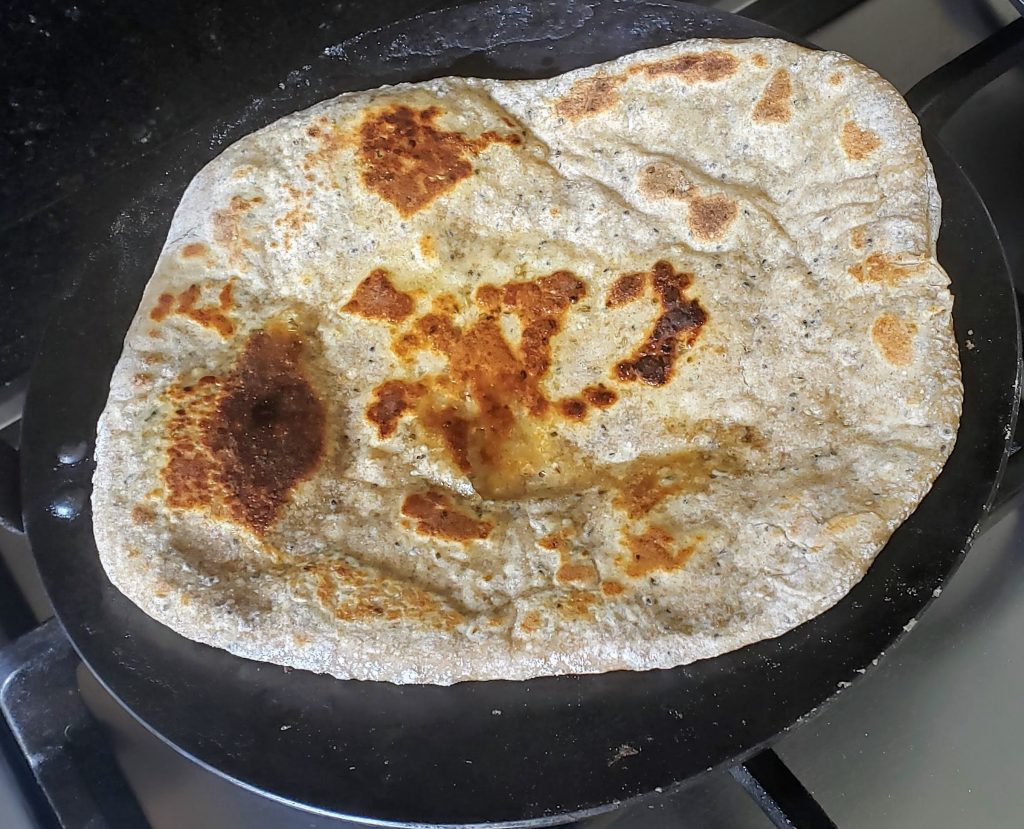
6. Flip it back to the first side and continue to cook for another minute.
7. Again, it is up to you, you can add a light coating of Ghee or oil to this side or leave it dry as I do. However, if you do add the ghee, flip it again and cook it for a few seconds before removing it onto a plate for serving.
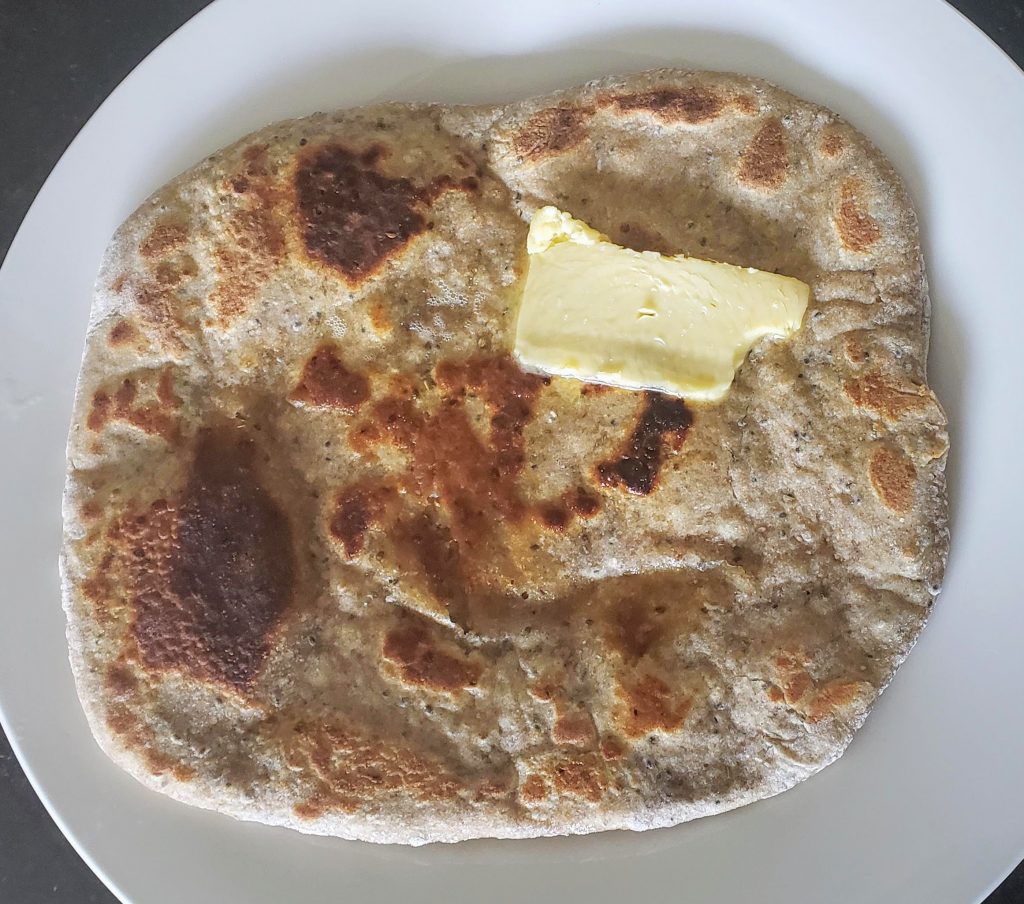
8. Eat it piping hot with a pat of butter and/or a cup of plain yogurt for dipping and/or a side of pickle.
Note:*These ingredients may be purchased at your local Indian grocer. For this reason, I have given you the name of the spice both in English and Hindi as that is the name (written phonetically in the English alphabet) you will find it under when you go shopping.
Spices impart specific flavors and aromas that enhance the overall flavor of the dish when used correctly. Moreover, they have a lot of health benefits. The list below specifies:
- The name of the spice;
- The flavor(s) it imparts;
- How and when it may be used; and, finally,
- It’s health benefits.
Ajwain (carom seeds) – Astringent, sharp. Add last to season cooking oil as it is very strong and may turn bitter. It is used in making Kari (a stew made from gram flour) and added to lentil batters as it helps combat gas and bloating. Generally used in doughs or made into decoctions with a little salt for gas pain. Chew 1/2 a teaspoon of the seeds with 1/8 teaspoon of salt to get instant relief from acidity and/or gas pain. Good for indigestion and reducing gas. A decoction of the seeds is ingested with the addition of a little salt as a digestive aid. It is an anti-inflammatory. Carom is also an anti-oxidant and has anti-bacterial and anti-fungal properties. It is also high in iron.
Written by Anju Kapur of Anju’s Table. All content and images on this site are copyright protected. Please do not use any of my images without my permission. Should you wish to share this recipe on your site, please add a link to this post as the source.
[…] 3/4 teaspoon Carom seeds and 3/4 teaspoon salt – Ajwain Ka Paratha. […]
[…] You could form a square shape, much like Ajwain Ka Paratha. […]
Awesome blog.Really thank you!