I have tested a lot of Pad Thai recipes on the internet and was never very happy with the results as none of them tasted very authentic. However, my Thai friend, Suda, came over and showed me how she made hers and I have never looked back. I did, however, make some adjustments to her recipe to make my life simpler and according to my taste (please forgive me, Suda).
Thai culture takes food art to a whole new level. They not only focus on eye-pleasing presentations for food but also on tablescapes with intricate food carvings. I have truly never seen the like anywhere else.
Looking at the ingredient list below, you will see that starting from the Palm sugar to the tamarind pulp, these four ingredients will constitute either the sweet, spicy, salty (and umami) and the sour components of your dish. You can vary them as per your taste. The sweet soy sauce is used just minimally for a mix of sweet and salt and also a bit of caramel color. The Thai chili flakes are added as a decoration and an added punch of heat (these are optional).
Prep time: Allow 4 – 6 hours (or overnight in the fridge) for soaking the noodles. The rest of the ingredients will take 20 minutes to prep.
Cook time: 25 minutes
Yield: 6 – 8 portions
Ingredients
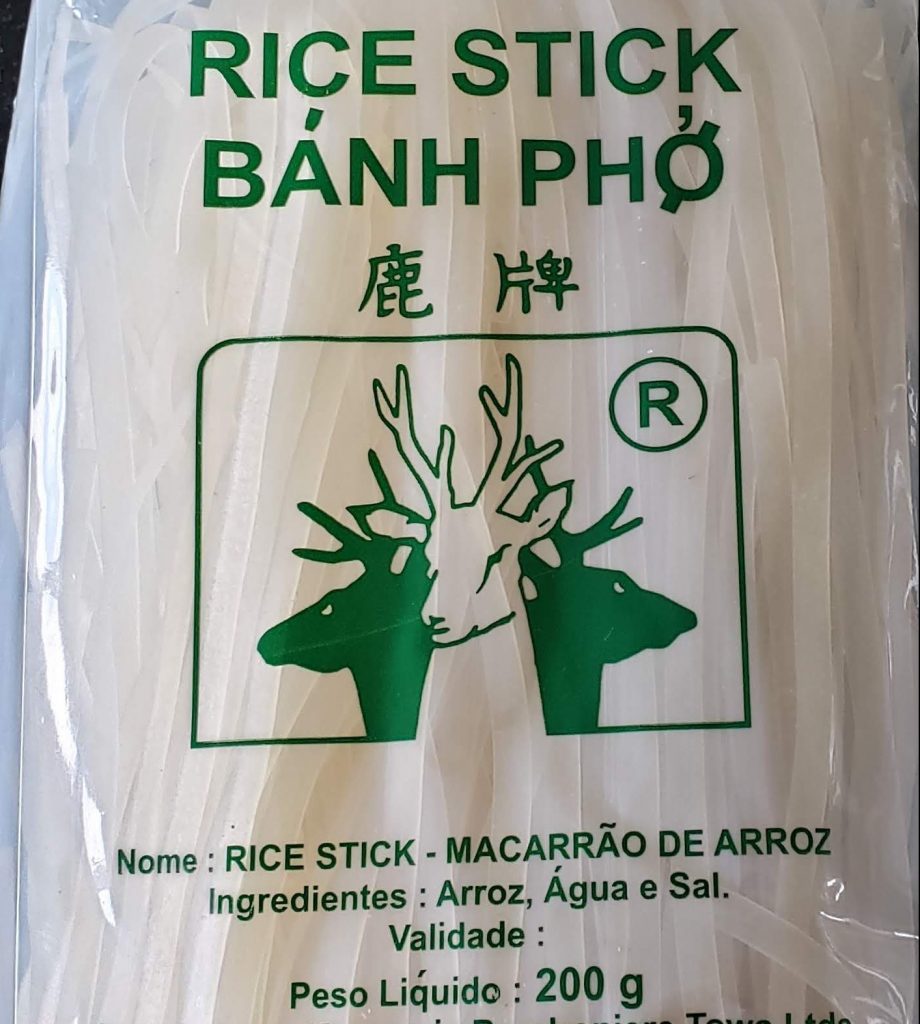
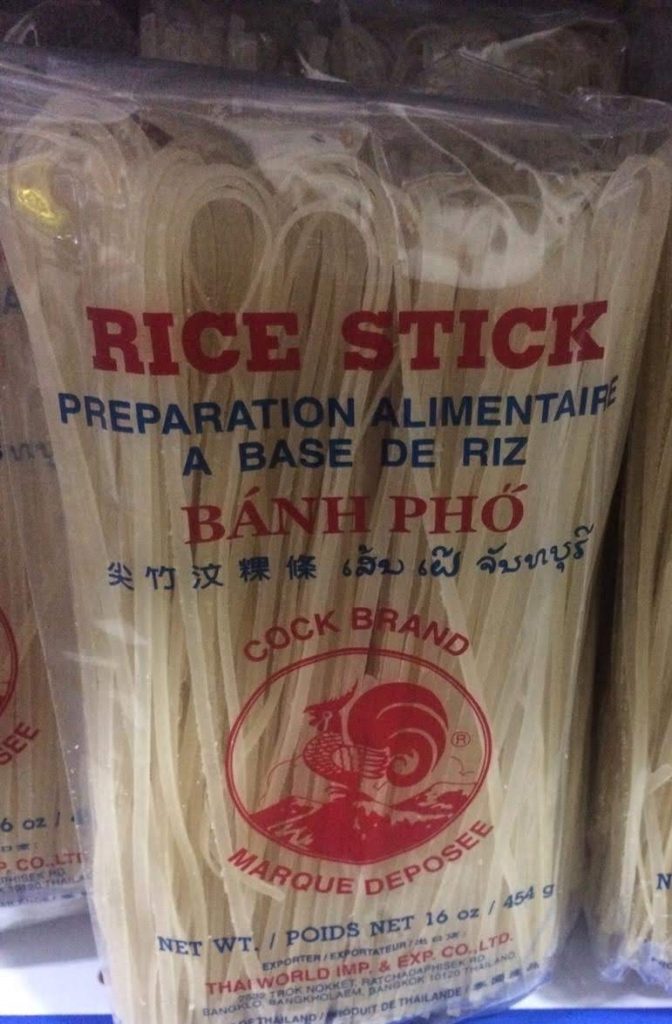
- 200 g Banh Pho 1/8 inch (0.5 cm) thick rice stick noodles
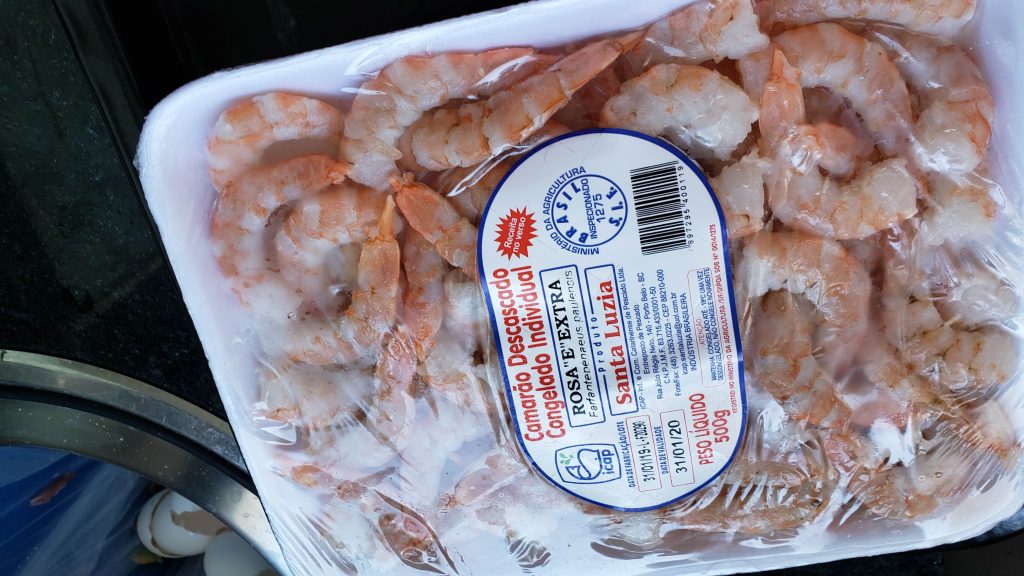
- *1 pound uncooked shelled shrimp, tails on either medium-large (36/40) or large (31/35) – reserve a handful for decoration after cooking – See note.
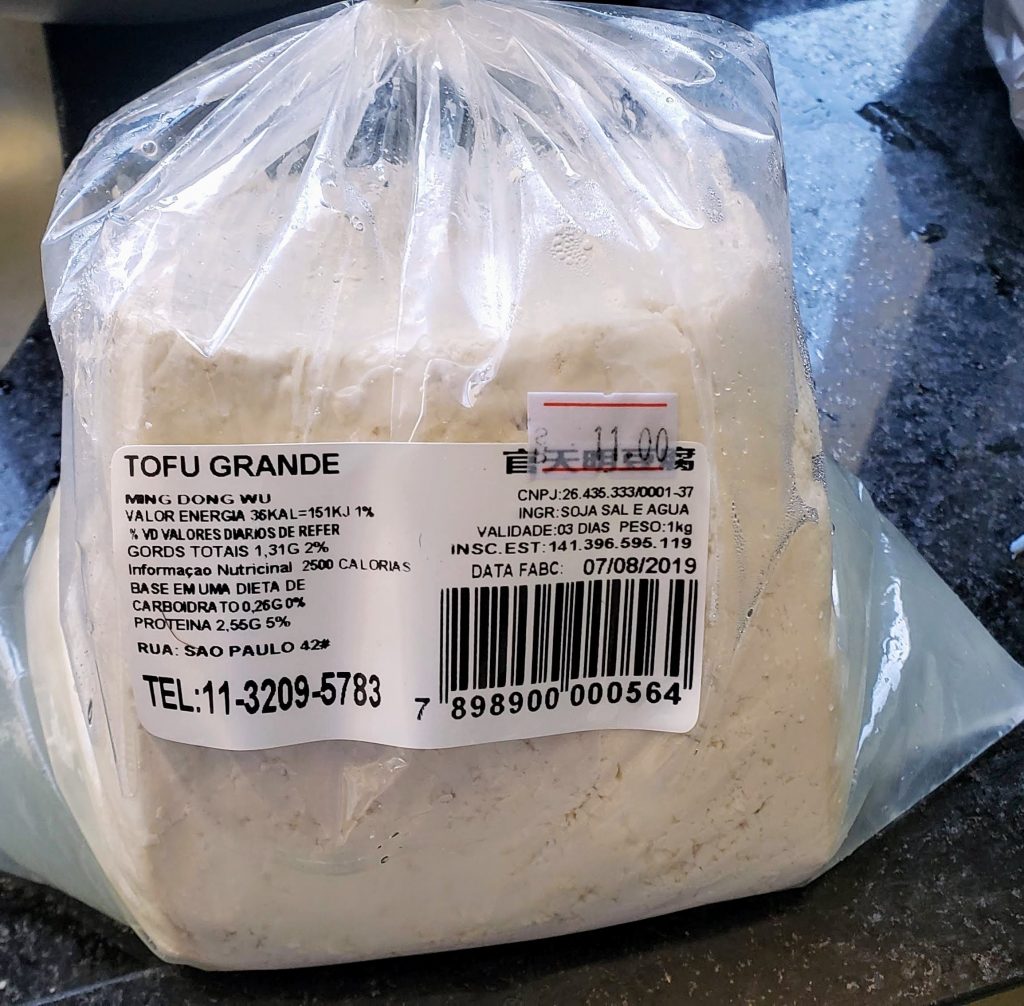
- **1 block of firm tofu – reserve a 1/4 cup for decoration after cooking – See note.
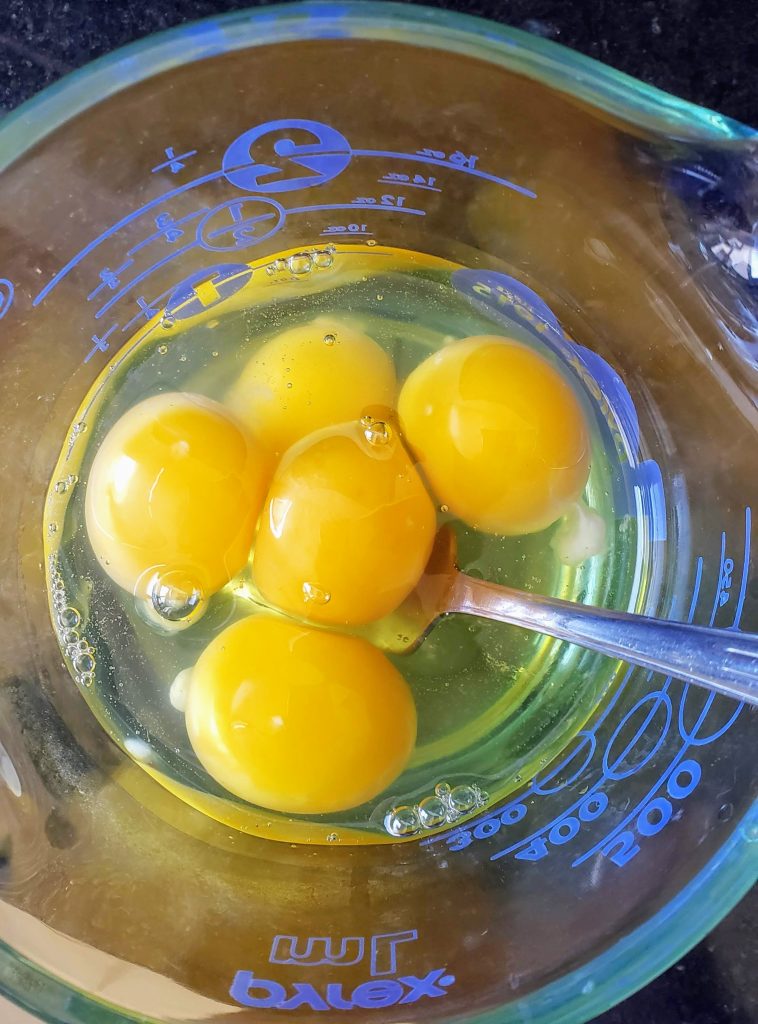
- *4-5 large eggs, well beaten – See note.
- 1/2 – 3/4 cup crushed roasted Spanish peanuts (I sometimes cheat and use a couple of heaping tablespoons of chunky peanut butter) – reserve all for decoration
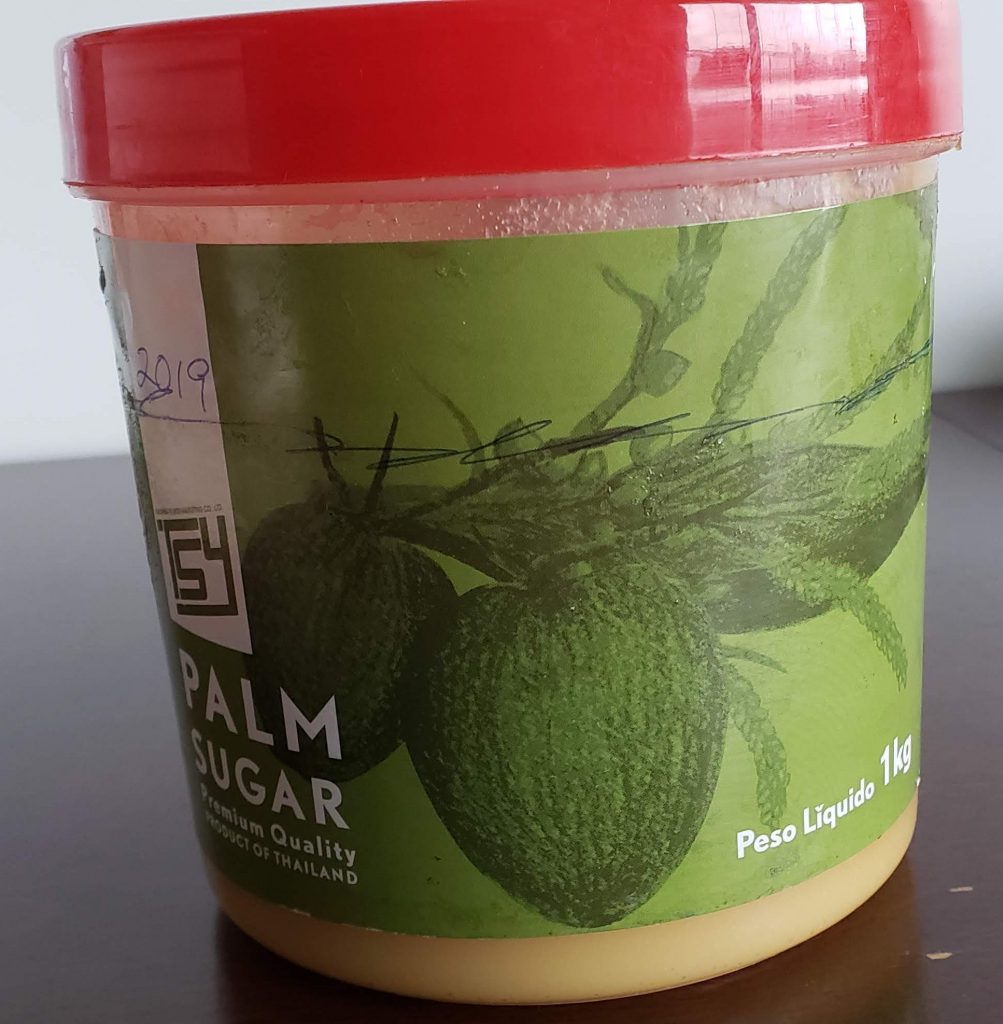
- 1/4 – 1/3 cup Palm sugar, depending on your taste
- 1 tablespoon cayenne pepper powder mixed with 1/2 cup water – add as much or as little of this mixture as you like to the dish
- *1/4 cup fish sauce – See note.
- 2 heaping tablespoons tamarind concentrated diluted in a scant 1/2 cup hot water or a scant 1/2 cup store-bought tamarind pulp – you can buy the concentrate or pulp at an Asian grocer. I’ll teach you how to make tamarind pulp from dried tamarind in a different blog posting
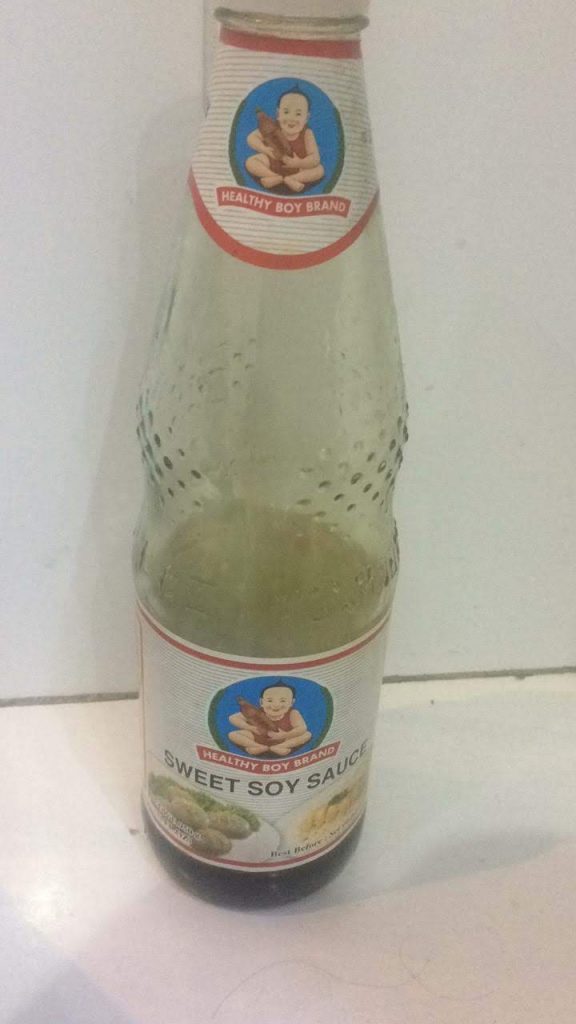
- 2 – 3 tablespoons sweet soy sauce
- 1 bunch Chinese garlic chives – reserve a handful of the bottoms for decoration
- 1 bunch scallions (optional)
- 1 small bag mung bean sprouts – reserve a handful for decoration
- 9-10 garlic cloves
- 1 cup hot water, added as needed
- 1 lime, cut into wedges
- 1 block smoked tofu, cubed or thinly sliced (optional)
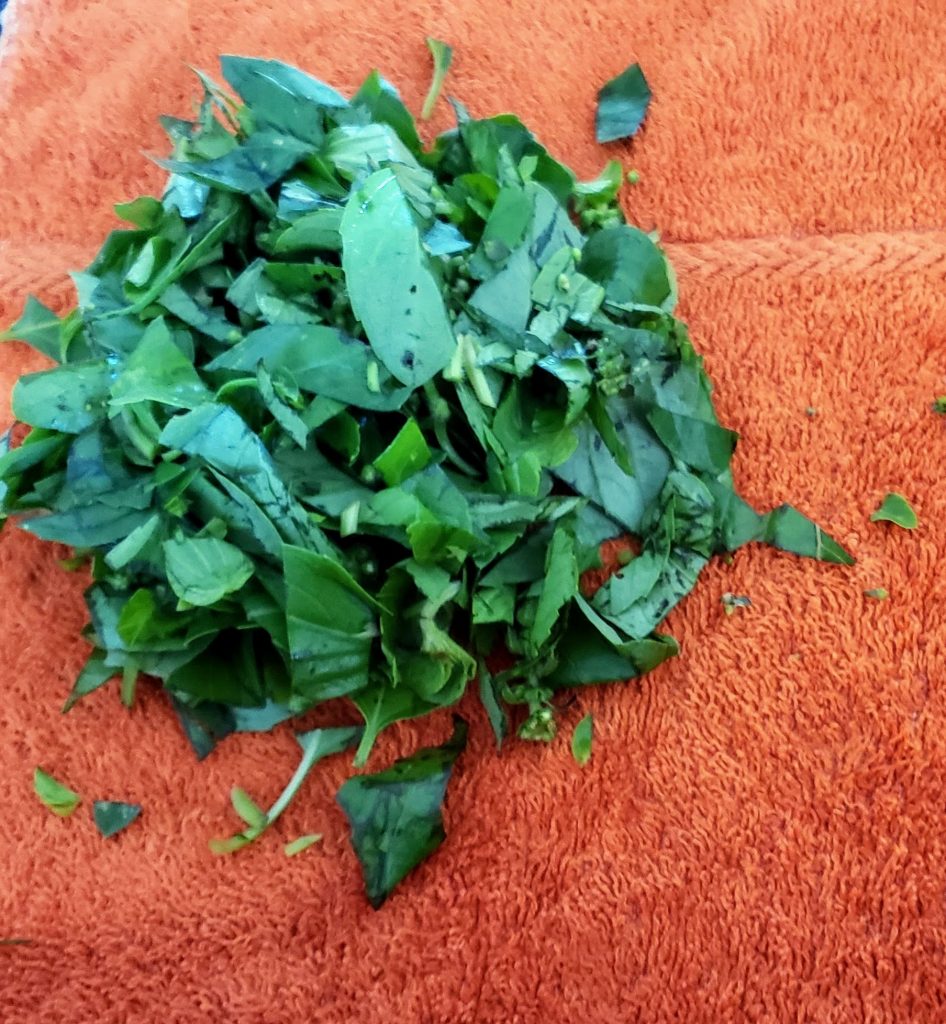
- 1 small bunch basil, coarsely chopped (optional)
- 1 small bunch cilantro, washed well (optional)
- 2 tablespoons Thai chili flakes, for decoration and heat
INSTRUCTIONS
Click here to get the recipe for Tamarind Pulp.
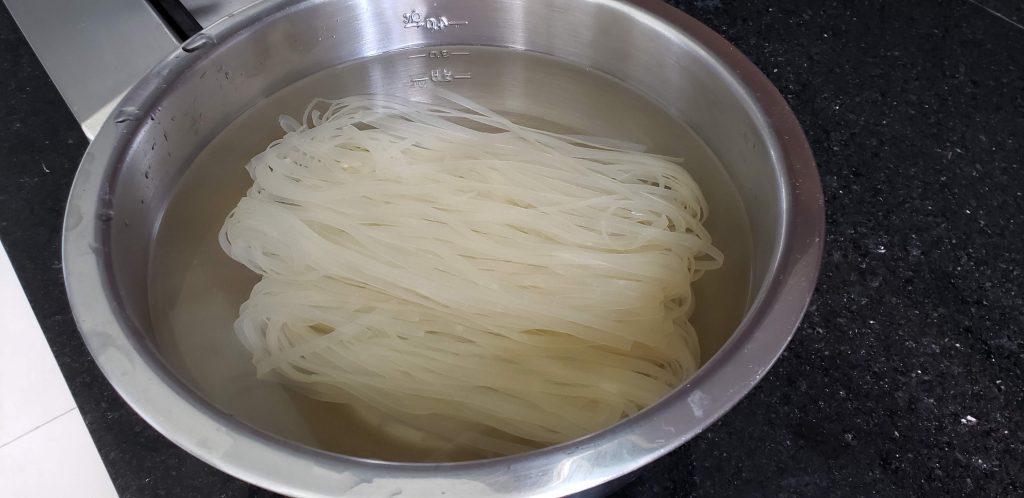
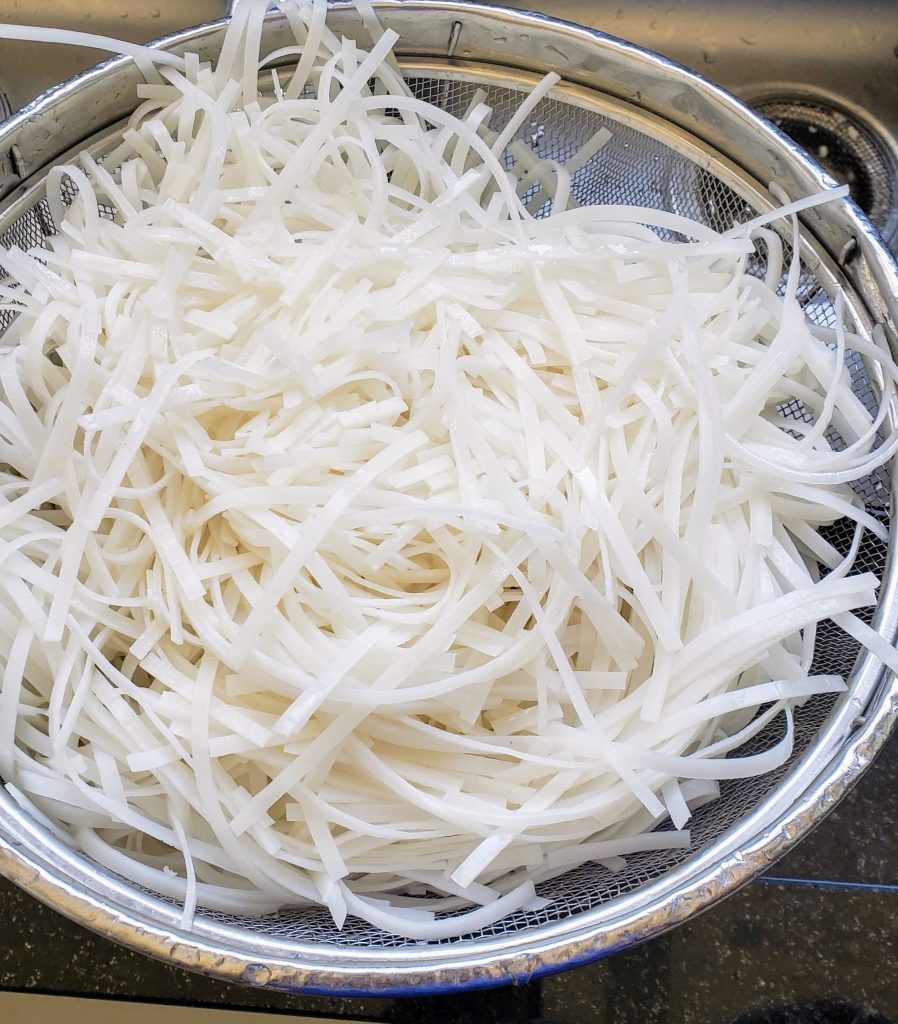
1.Soak the rice stick noodles in COLD water for 4-6 hours until tender. Test by cutting one noodle between your thumbnail and finger. There should not be a hard, dry center and the noodle should feel tender. Drain and set aside.
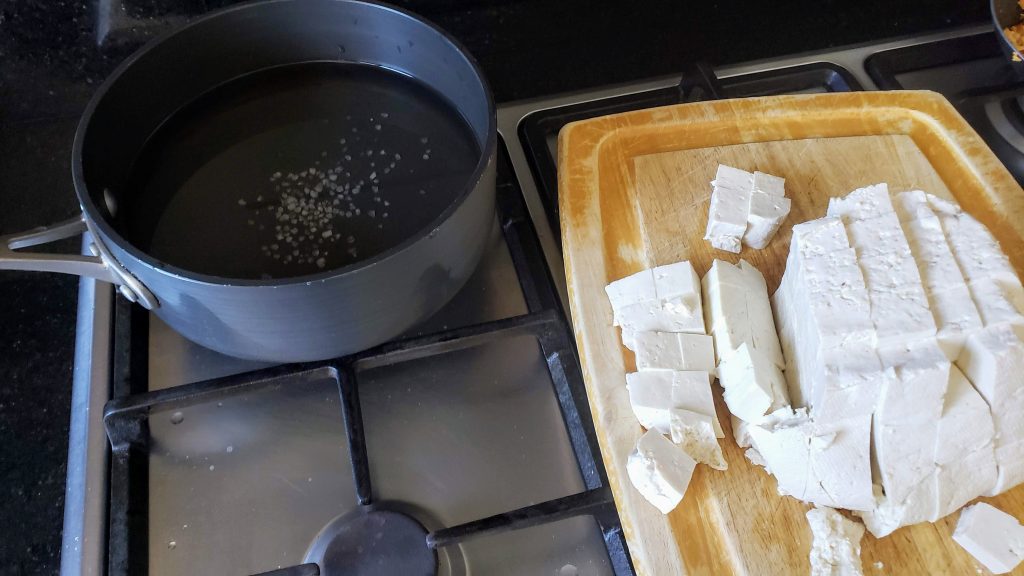
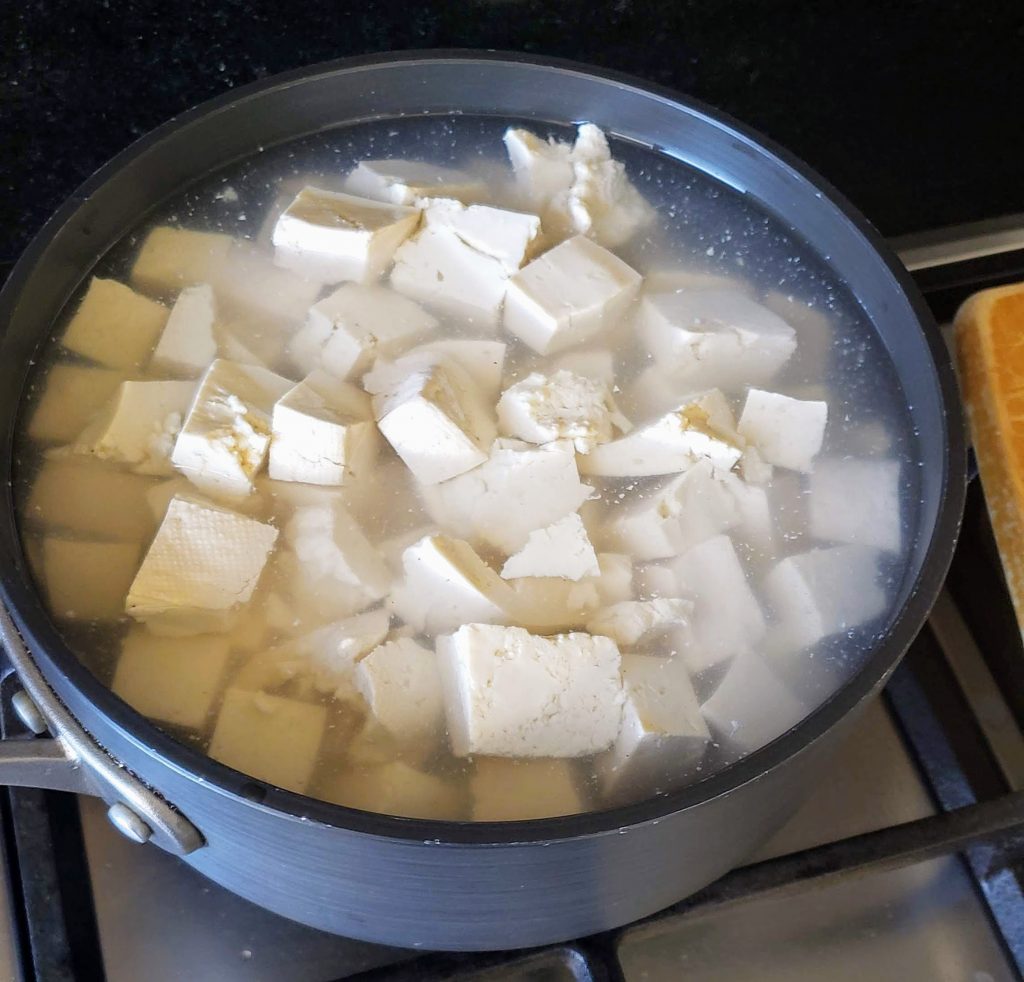
2. Cut the tofu into 1-inch cubes and boil in salted water for 15 minutes. This is an important step when stir-frying as it helps firm up the tofu and keeps it from breaking. Drain and set aside. *See note below for tips on how to increase the shelf life of tofu.
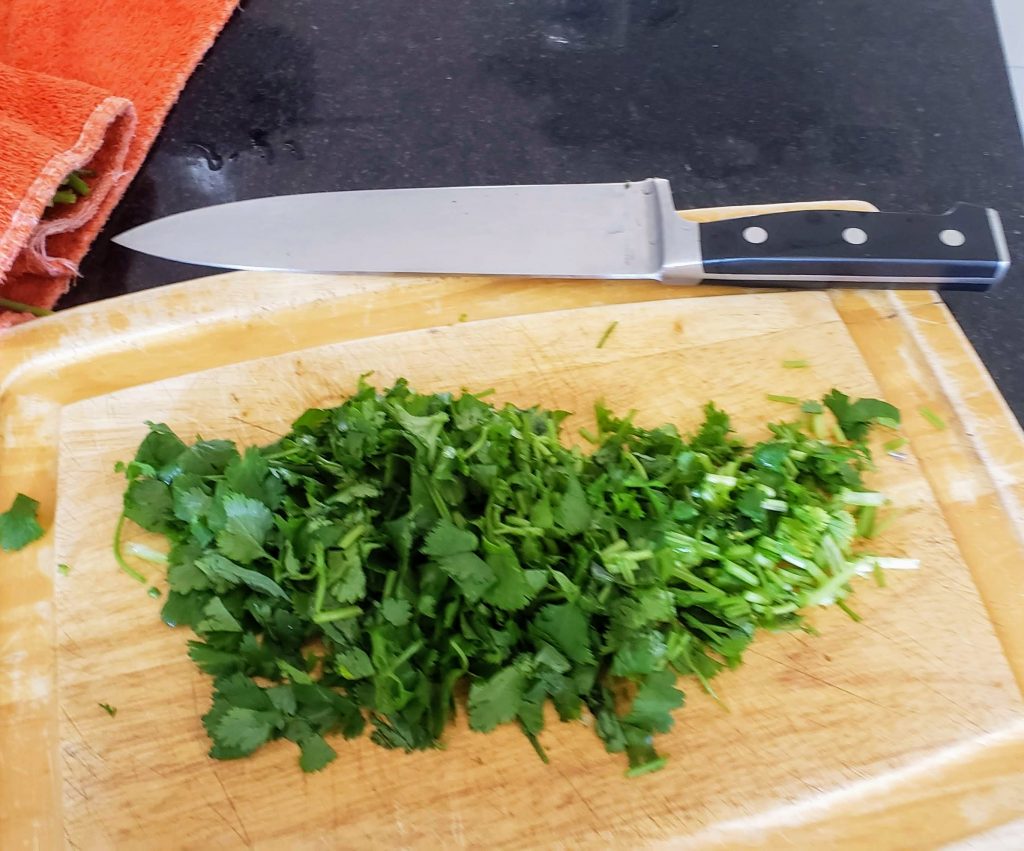
3. Meanwhile, wash, dry and chop basil and cilantro if you are using them.

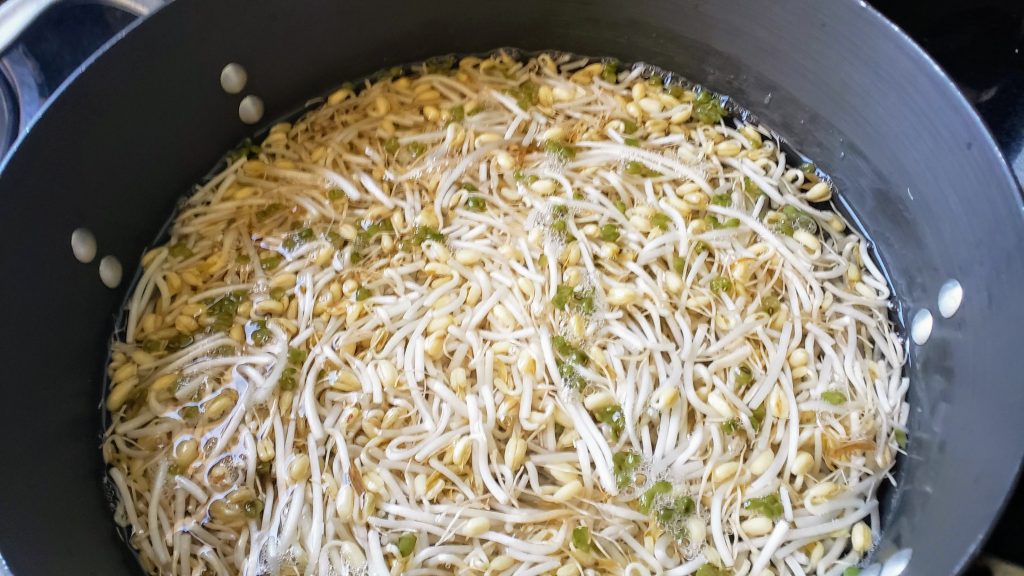
4. Soak mung bean sprouts in cold water to refresh them.
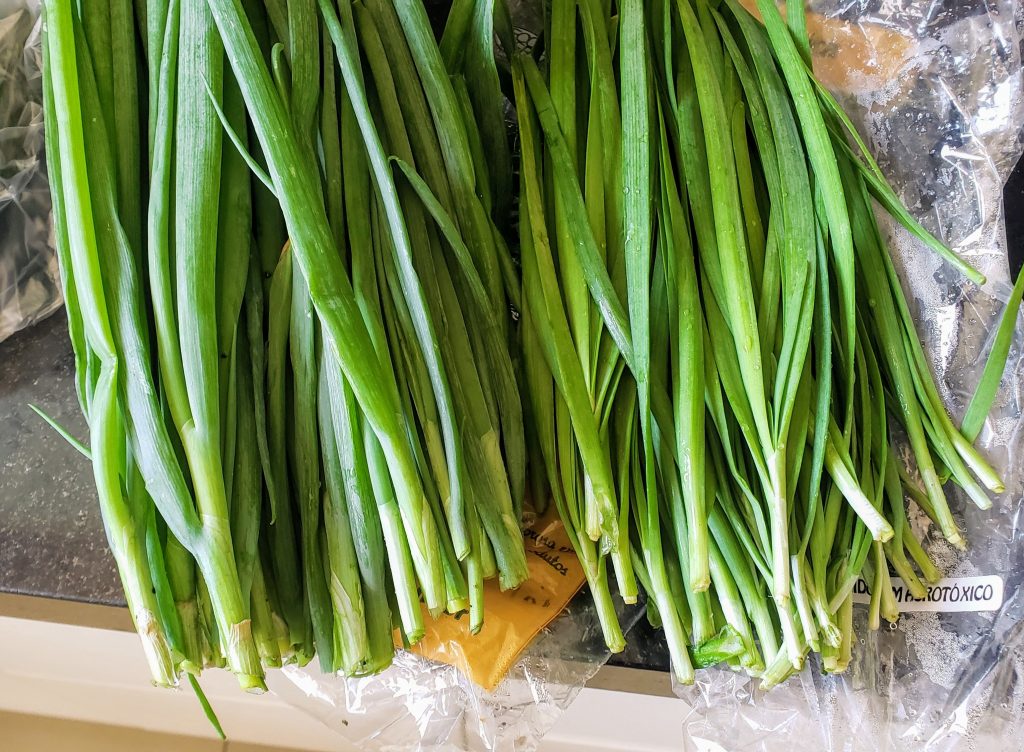
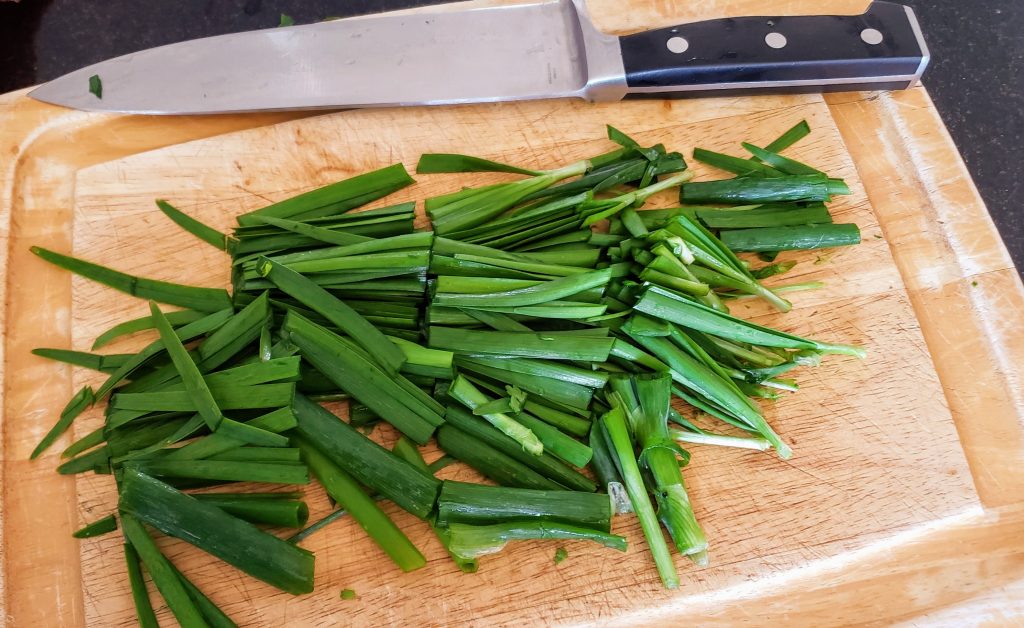
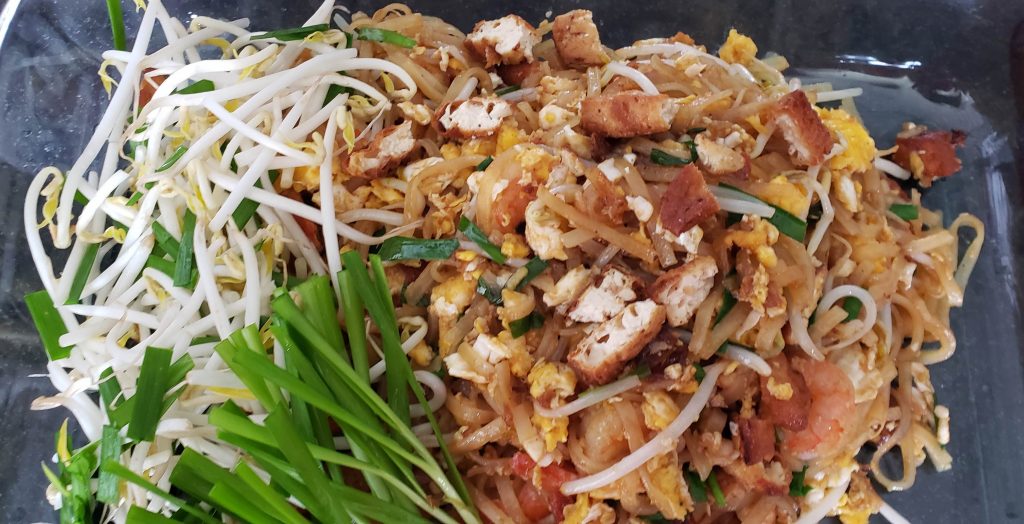
5. Wash, dry and cut scallions and chives into 2-inch long pieces. See picture below, the greens on the left are scallions whereas the greens on the right are the Chinese garlic chives. Note that the leaves are flat like grass on the garlic chives and round and hollow on the scallions. Soak only the top green leaves of the scallions and garlic chives in water with beansprouts.
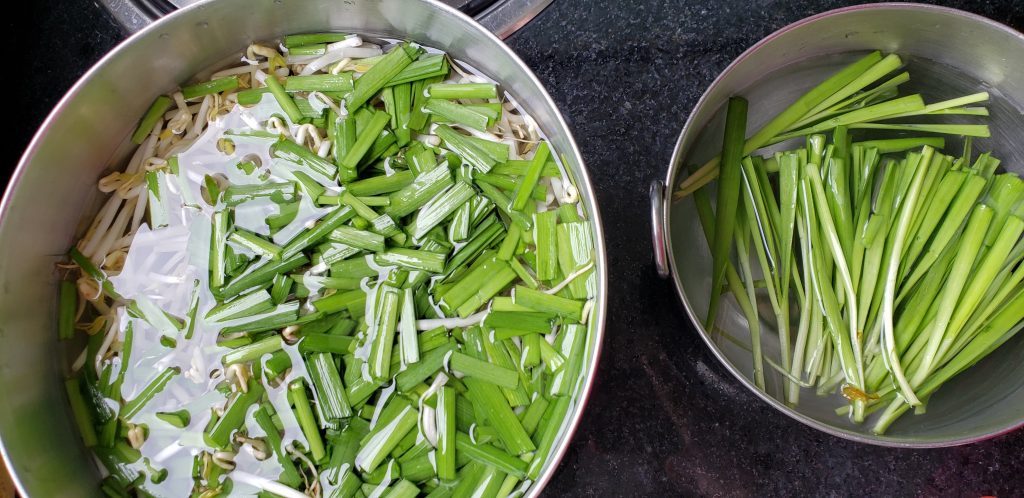
6. Take the bottoms of the scallions and chives and soak them in a separate bowl of chilled water (see above). Within 5 minutes the cut ends will fan out. Once this happens, drain and set aside for decoration.
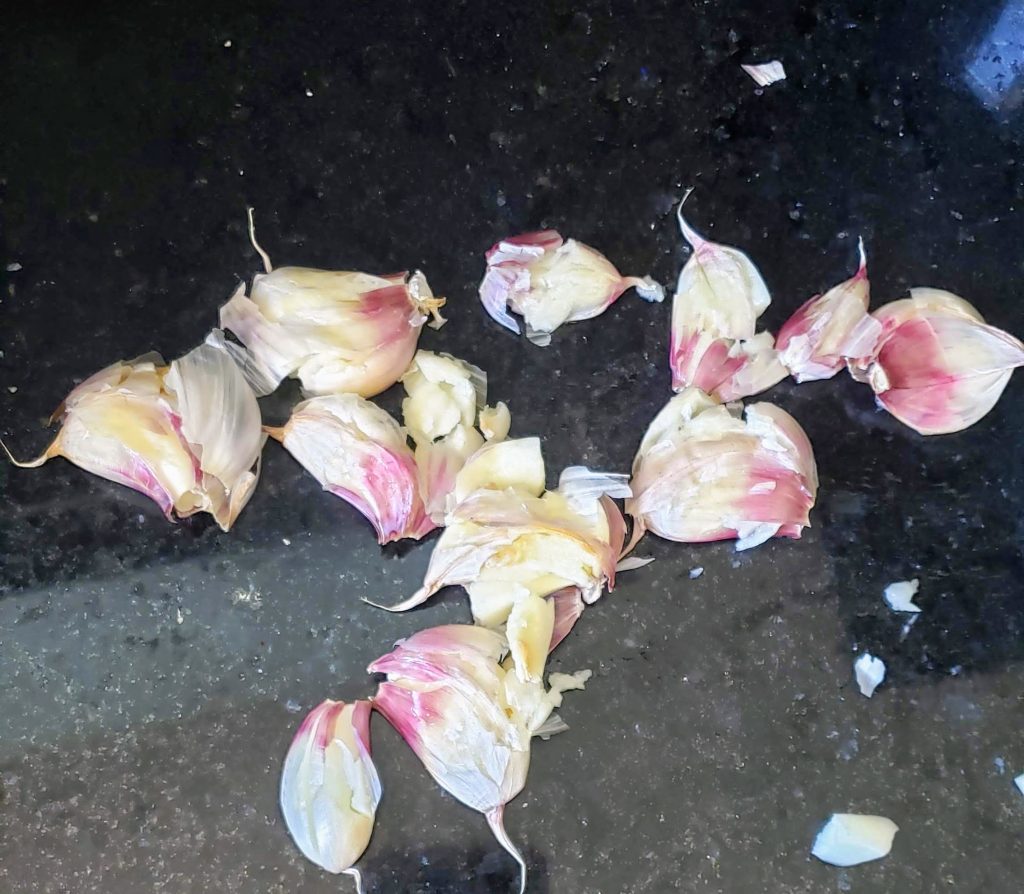
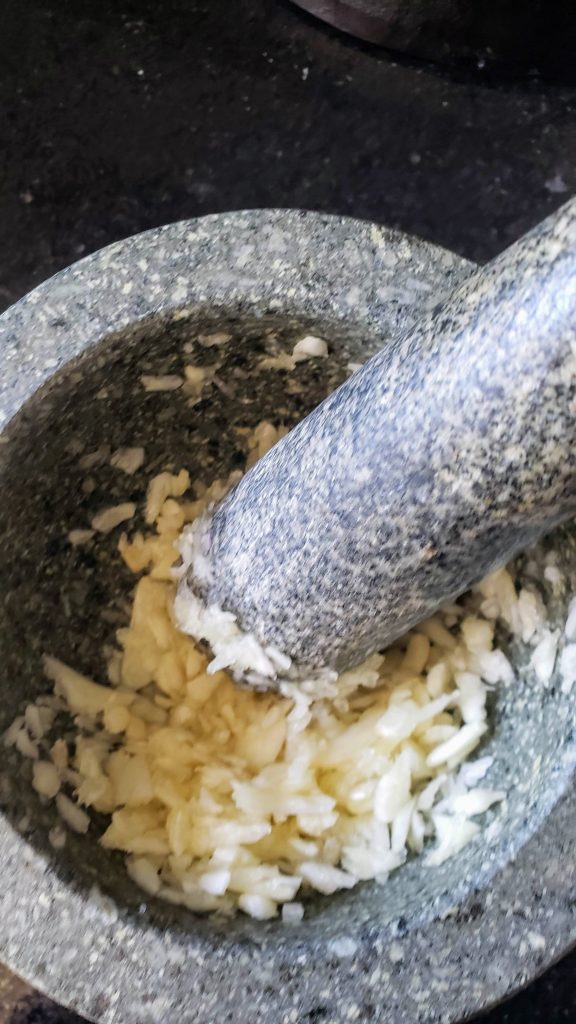
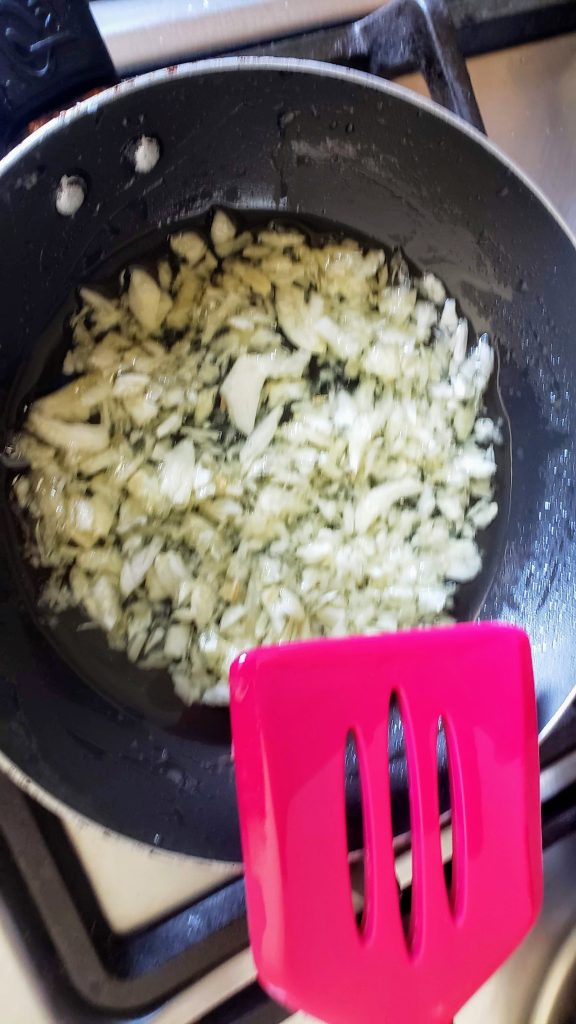
7. Smash the garlic to remove the skins and pound them to into small pieces. Fry these pieces in vegetable oil until they turn light golden brown. Take care not to burn them. This toasted garlic oil will add a wonderful flavor to each component of your stir-fry so be sure to make at least 1/2 cup. Store the excess in an air-tight container in the fridge and use it for other dishes.

8. Layout all your prepared ingredients and your sauces within easy reach of your pan. Suda likes to fry her tofu whereas my family and I prefer stir-fried tofu.
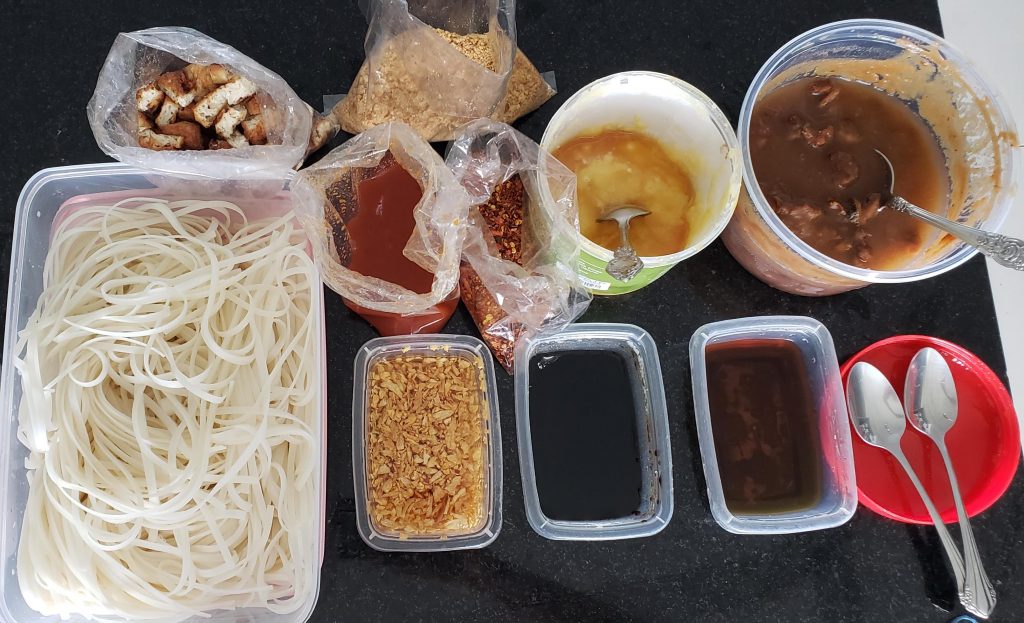
Fried tofu, crushed peanuts, softened rice noodles, cayenne chili pepper in 1/2 cup water, Thai chili flakes, Palm sugar, boiled tamarind (pulp), toasted garlic in oil, sweet soy sauce, and fish sauce.
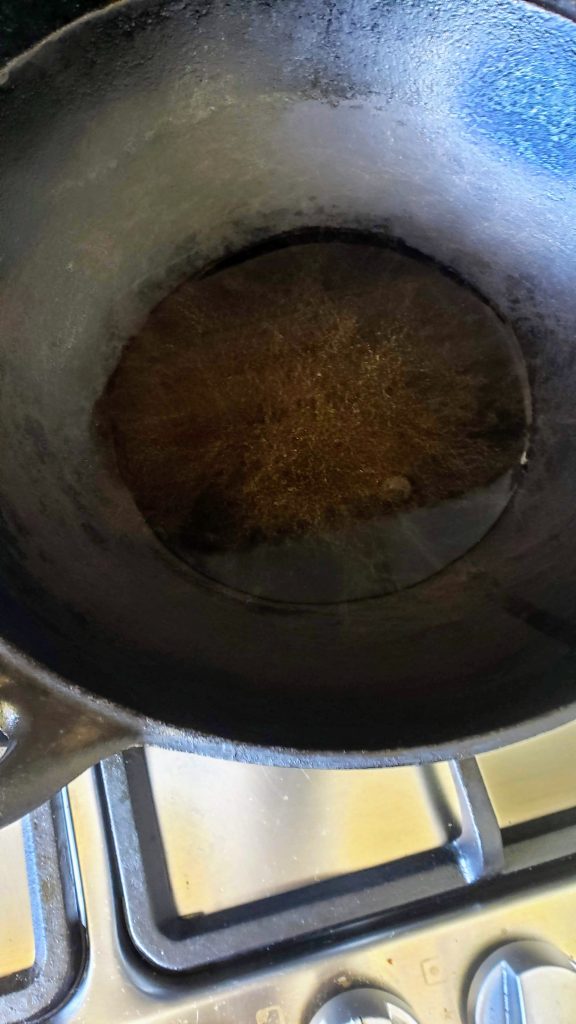
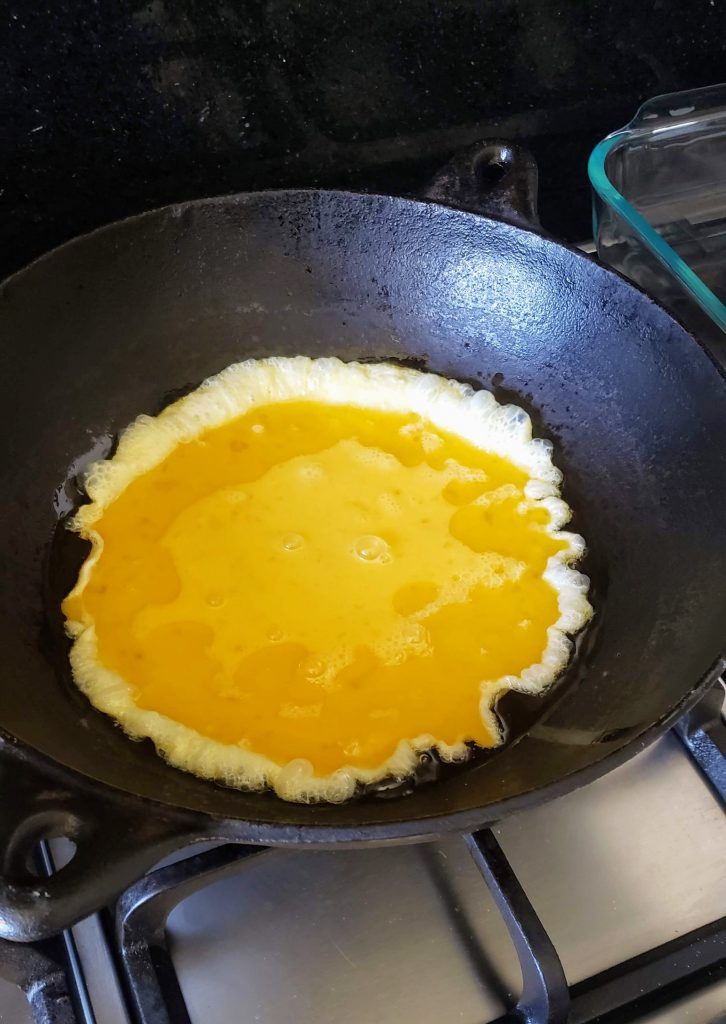
9. Now its time to cook! Heat a wok or a 12-inch cast-iron frying pan or a large, non-stick skillet. Once the pan is hot (If you sprinkle some water droplets into the pan and you see the water dancing, it’s hot enough, but don’t let it smoke), add a few tablespoons of vegetable oil and put in the beaten eggs.
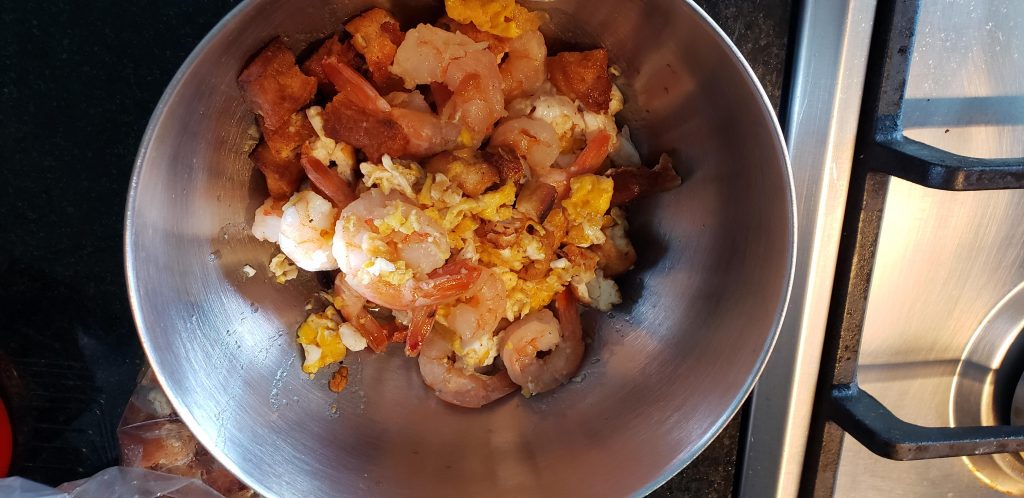
Push the cooked edges of the egg toward the center and allow the liquid in the center to ooze out to the edge. Do this in several places to allow the eggs to cook completely. It’ll take no more than 2 minutes. Remove the eggs from the pan into a large, heat-proof bowl (metal, glass or ceramic – no plastic).

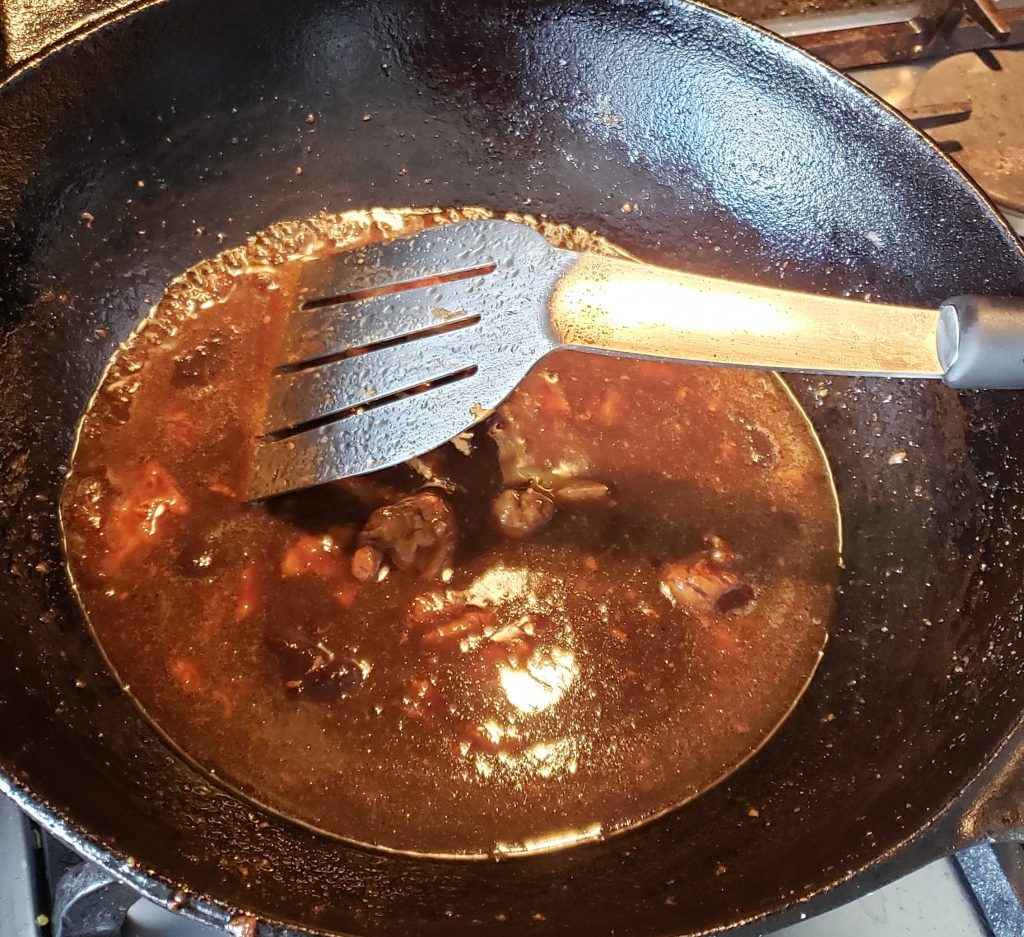
10. Add 1 tablespoon each of the toasted garlic oil, the palm sugar, and the fish sauce into the pan and cook the shrimp until they start to turn pink, don’t overcook them or they’ll go from soft and succulent to chewy. Remove from the pan and add them to the container with the cooked eggs.

11. I make a concoction called Pad Thai seasoning sauce by adding 3 tablespoons each of the garlic oil (with the crispy bits of garlic), tamarind water/pulp, fish sauce, sweet soy sauce, peanut butter (skip this if you are using crushed peanuts) and palm sugar. I add an extra 3 tablespoons of tamarind pulp to the Pad Thai seasoning sauce as I like the tangy-sweet taste to stand out.
This will result in a little more than 1 cup of sauce. It helps speed things up for me and also keeps me from second-guessing whether I added an ingredient or not.
To the pan add 1/3 – 1/2 cup the Pad Thai seasoning sauce, now add a tablespoon (or more) of chili water. Stir until the sugar and peanut butter dissolve. Add the boiled, drained tofu and toss by shaking the pan to coat the tofu without breaking it.
Cook for 3 minutes. You can add the scallions and garlic chives at this point as they don’t require any cooking. Remove from the pan and add to the other cooked ingredients.
If desired, add another 2 tablespoons of tamarind pulp to the tofu.

I added an extra 2 tablespoons tamarind to the tofu 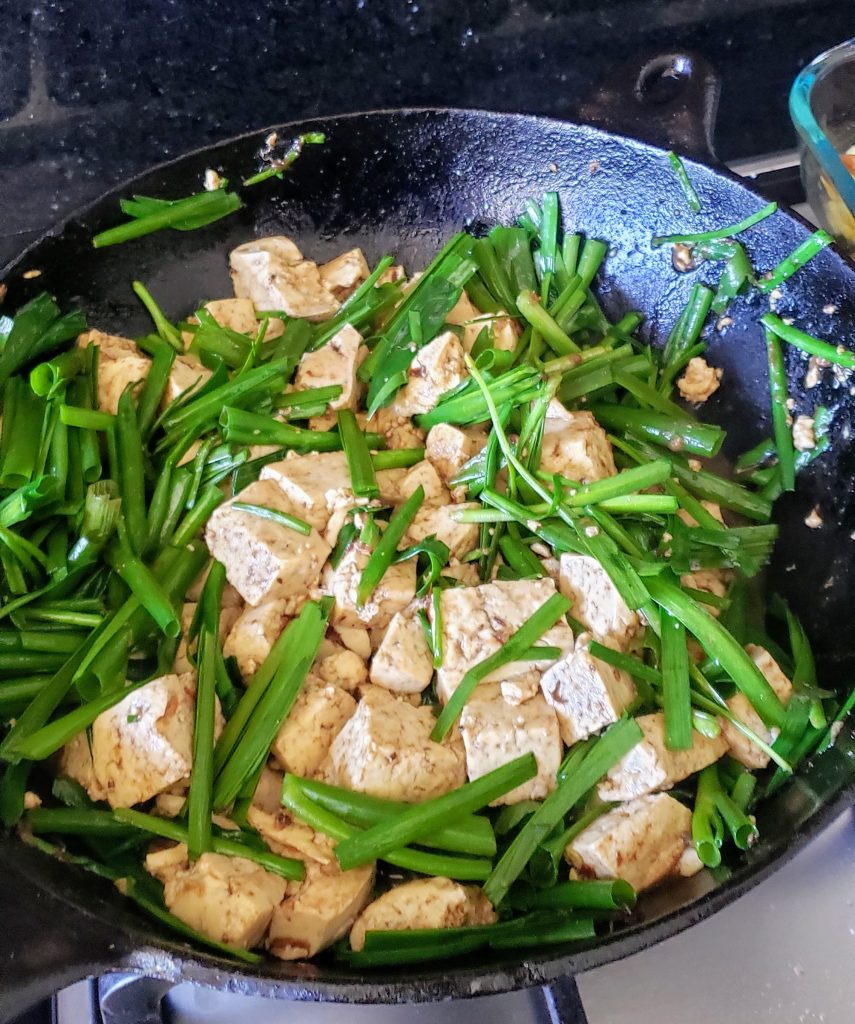
12. Add 1/2 cup of Pad Thai seasoning sauce to the pan. Also, add several tablespoons of chili water. I like it spicy, so I use all the chili water.
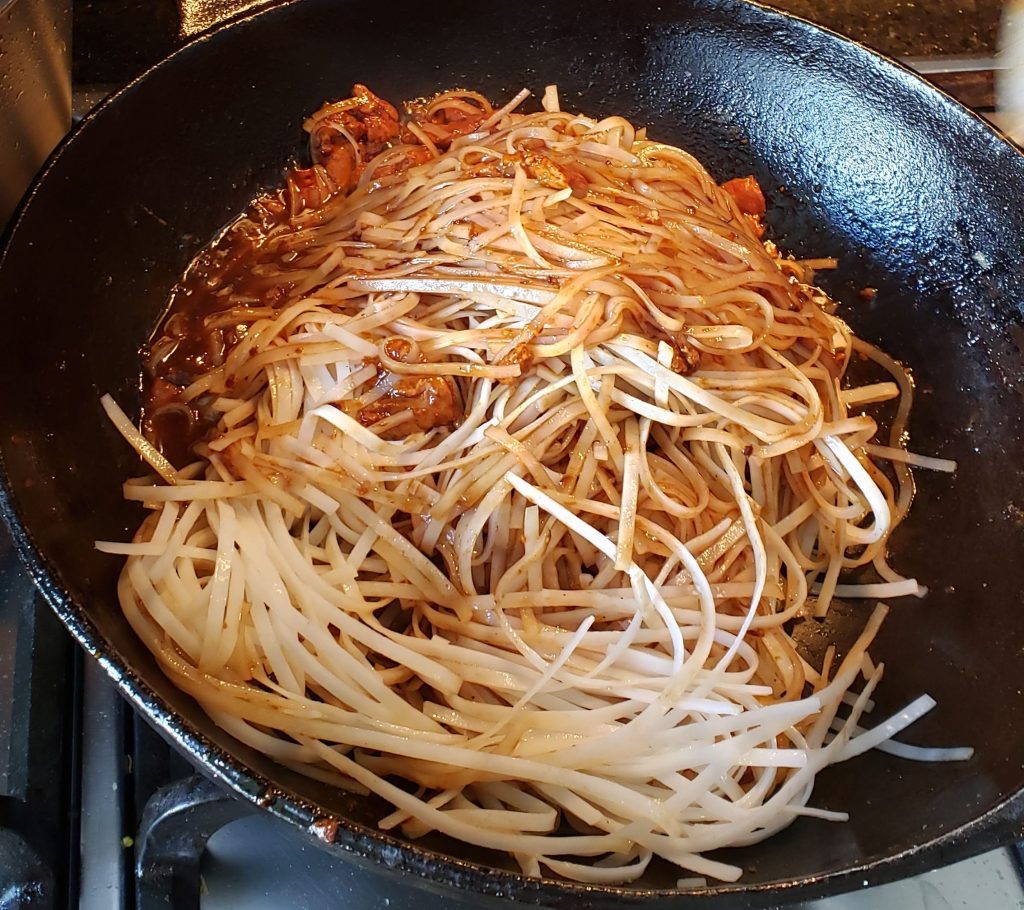
Stir until the sugar and peanut butter dissolve. Now add the boiled, drained noodles. Using tongs, toss the noodles allowing the sauce to coat them.
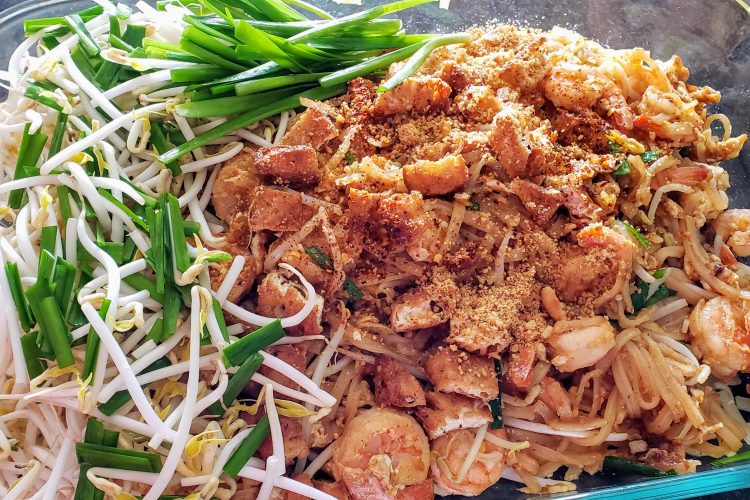
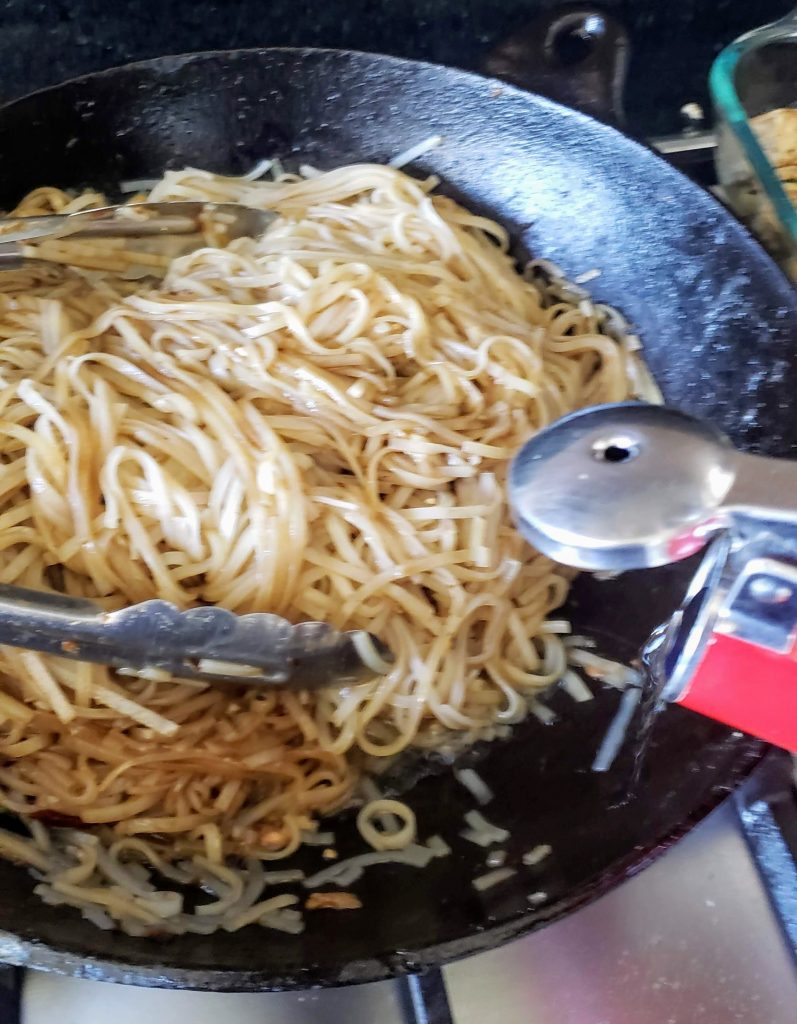
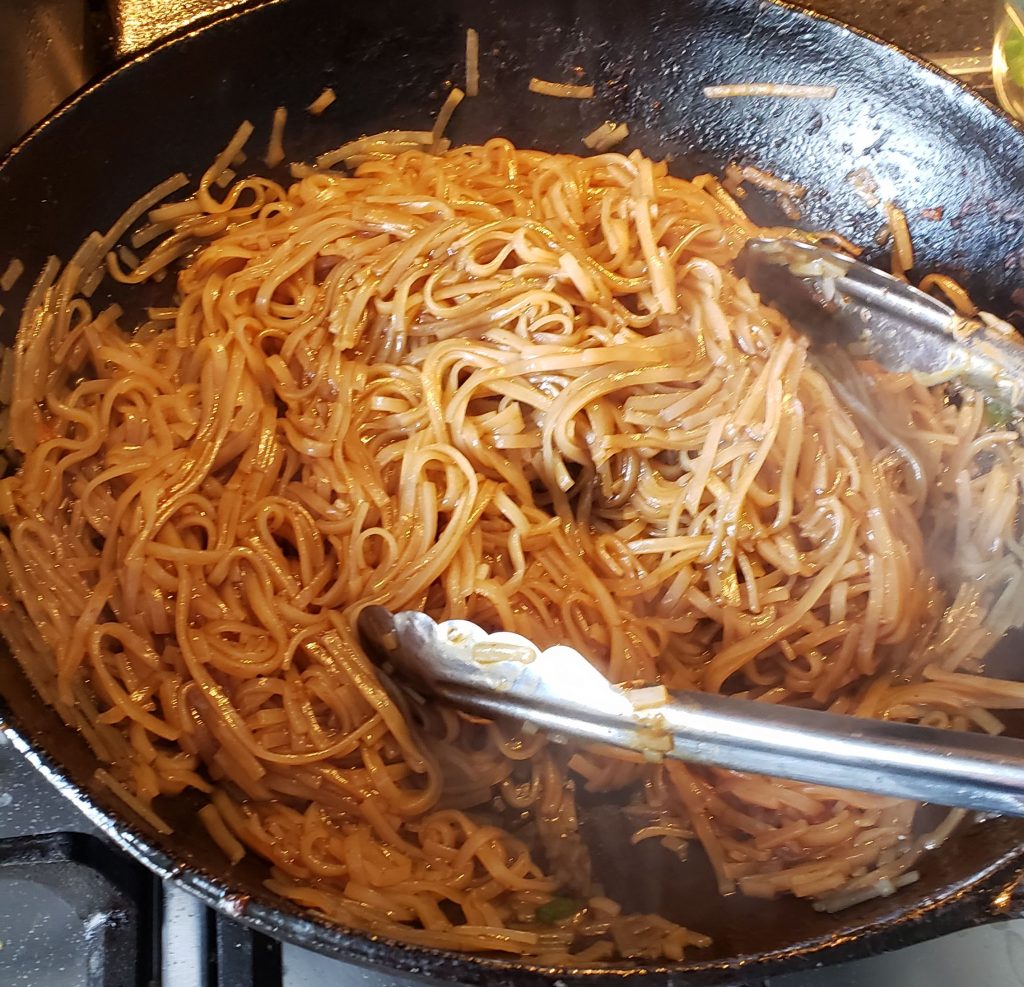
Cook the noodles until they turn clear and develop a shine (See the last picture below). This is how you know they are done. This will take about 7-9 minutes over medium/high heat. You may need to add the hot water to keep the noodles from sticking.
Taste a noodle and see if it needs more fish sauce (salty component), or tamarind, sweetness (palm sugar) or spice (chili water). Add a few teaspoons of the Thai dried chilis(or not, if you like it mild)
13. Once you cook the noodles and correct the seasoning, drain the bean sprouts and add to the pan. Remember to reserve a handful of sprouts for the decoration! Also, add the slices of smoked tofu, a handful of the crushed peanuts and the chopped cilantro and basil if you are using them. Toss well to heat through.
Remove the noodle/vegetable mixture to a serving dish.
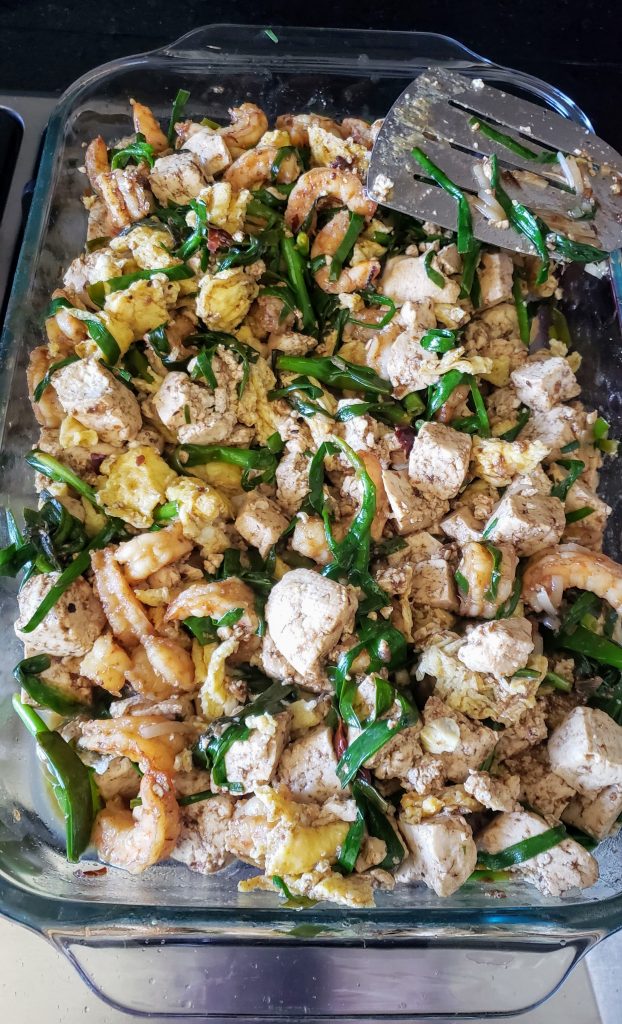
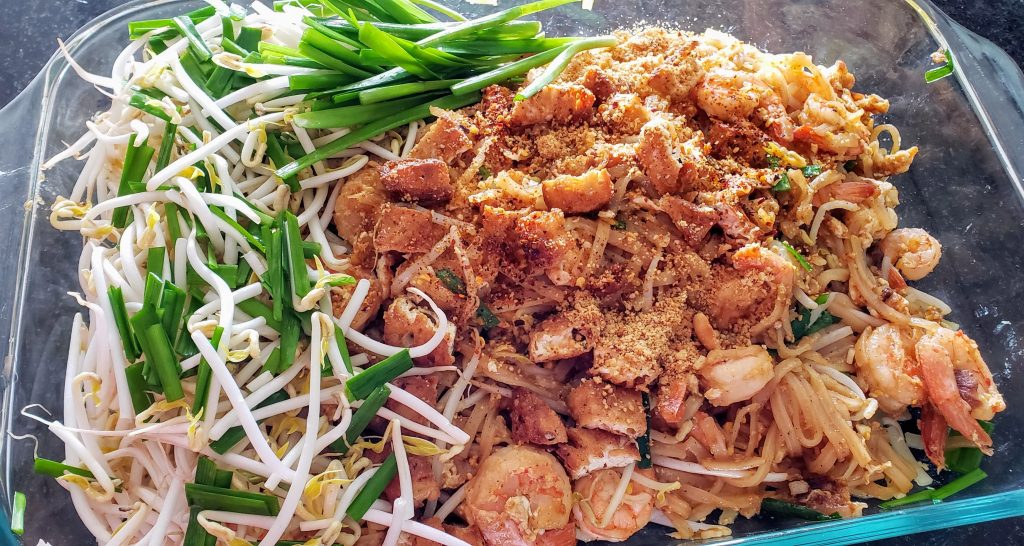
14. Reheat the egg/shrimp/tofu mixture in the pan and add over the noodles. Cover one end of the dish with the beansprouts, curly scallion, and garlic chive bottoms.
15. Add a handful of crushed peanuts and a few teaspoons of Thai chili flakes (or not) over the top of the noodle dish.
16. Serve hot with wedges of lime to be squeezed over the top of each portion.
17. Should you wish to double or triple this recipe, it is best if you make it in batches not exceeding the amounts given here as it will be difficult to cook the large quantities of ingredients properly. Reheat the entire dish, covered, in a slow oven 225F or 100C for 15 minutes.
18. Decorate with the beansprouts, bottoms of garlic chives and scallions, crushed peanuts (if using) and chili flakes (if using) just before serving.
Note: *To make this recipe vegetarian and Vegan, eliminate the eggs, and shrimp. Replace the fish sauce with soy sauce or salt.
**Once the tofu is opened, it only lasts for another 2-3 days. To extend its shelf-life, boil it in salted water for 15 minutes then store it in the refrigerator in an air-tight container with some of the salty water. It’ll keep for a week. However, for longer storage, put it in the freezer. It’ll become porous, and a bit spongy, but these pores help it to absorb any sauce or marinade you put it in resulting in more flavor.
Written by Anju Kapur of Anju’s Table. All content and images on this site are copyright protected. Please do not use any of my images without my permission. Should you wish to share this recipe on your site, please add a link to this post as the source.
Waouwwww.
It’s looking fantastic. The best is learning cooking live with you 😍😍. And eat 😜
Hi Véronique, I would love to cook with you anytime. Looking forward to seeing you soon!