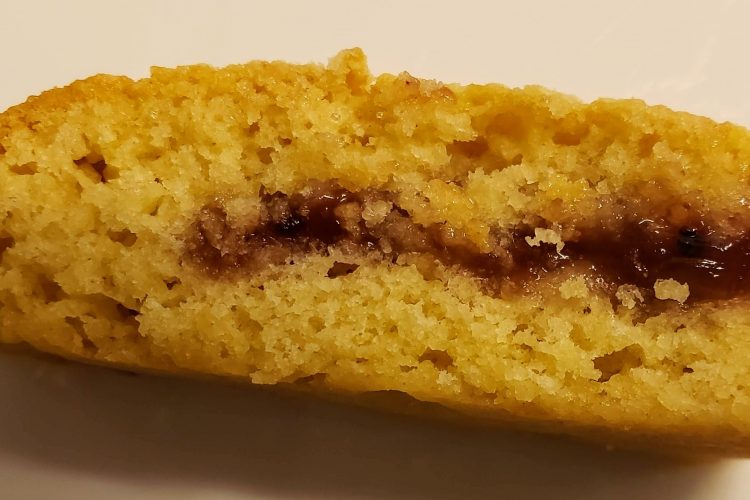
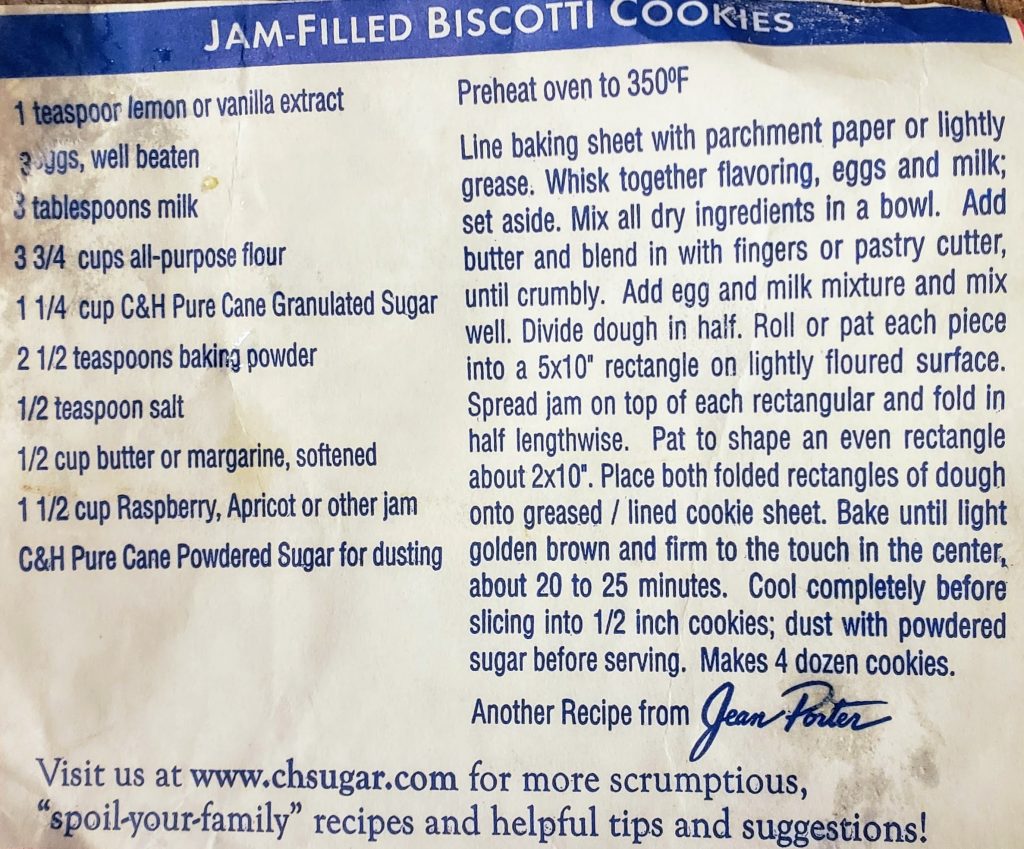
These moist and tender “biscotti” are so good they only last 48 hours in my home. They are deceptively quick and easy to make, however, they make a lovely presentation and lasting impression. I got this recipe years ago from the back of a bag of sugar. I hope you’ll try these out and let me know what you think.
Hands-on time: 20 minutes
Bake time: 20-25 minutes
Yield: About 5 dozen cookies
ingredients
- 1 teaspoon vanilla extract
- 3 eggs, well beaten
- 3 tablespoons milk
- 3 3/4 cup all-purpose flour
- 1 1/4 cup granulated sugar
- 2 1/2 teaspoons baking powder – I prefer Aluminum-free baking powder
- 1/2 teaspoon salt
- 1/4 cup unsalted butter (1/2 stick) softened for 30 seconds in the microwave, and 1/4 cup vegetable oil
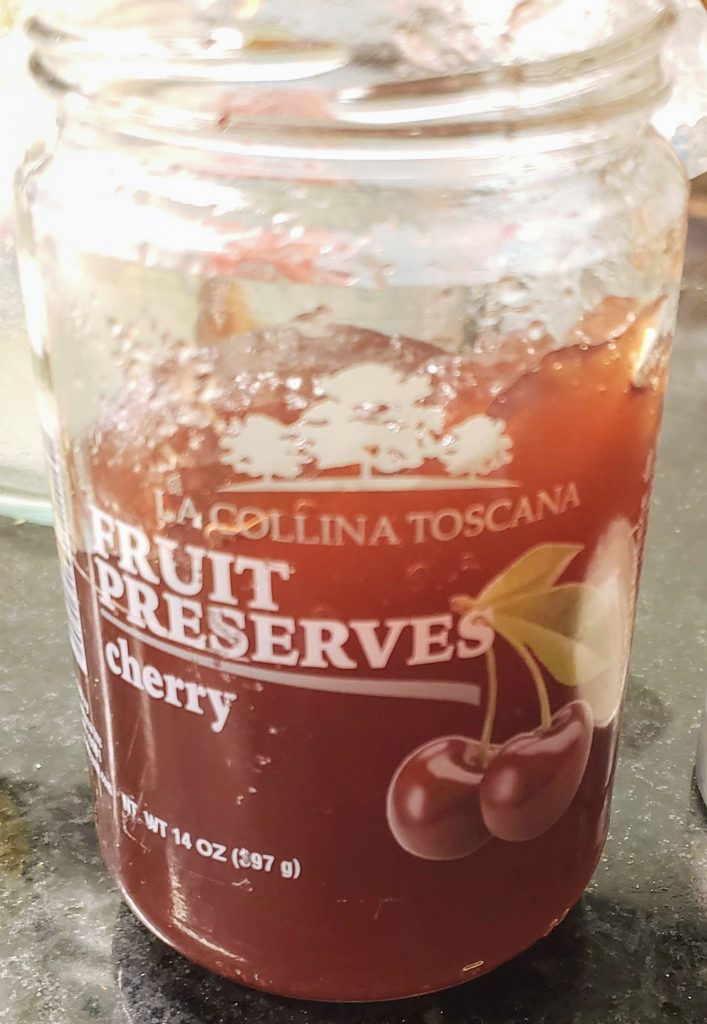
- *1 1/2 cup jam, any kind- I used cherry
- powdered sugar for dusting (optional)
INSTRUCTIONS
1.Preheat the oven to 350 F.
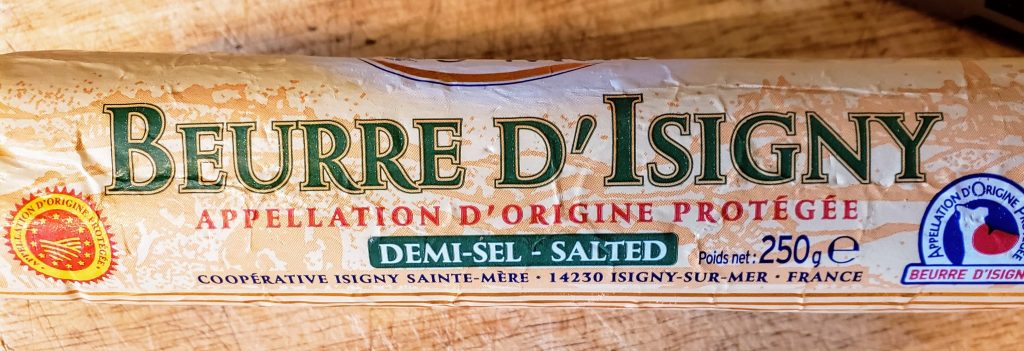
2. Melt the butter for 30 seconds in the microwave – I only had salted on hand. Oh well. Add the 1/4 cup oil and let it sit on the counter while you measure the rest of the ingredients.
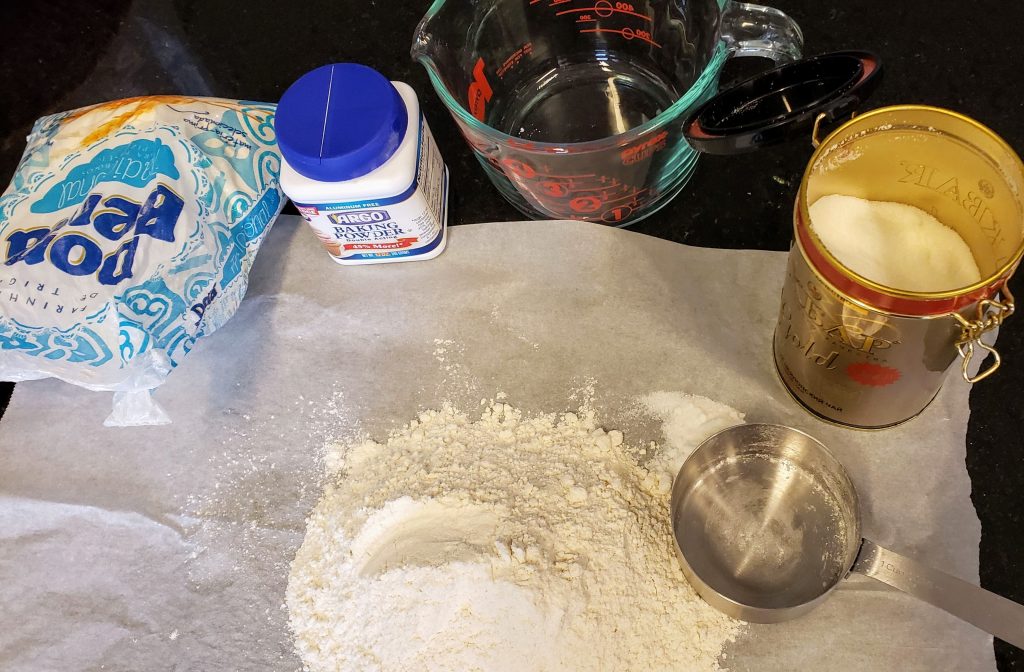
3. Sift flour onto parchment before measuring. Add to a large mixing bowl.
4. Measure and add the granulated sugar, salt and baking powder to the same bowl.
5. Measure the milk, add the eggs and vanilla to the same measuring cup and beat well. Add the cooled, softened butter and mix well.

6. Add the wet ingredients to the dry ingredients and first mix with a spatula and finally your fingers until you get a soft, moist dough.
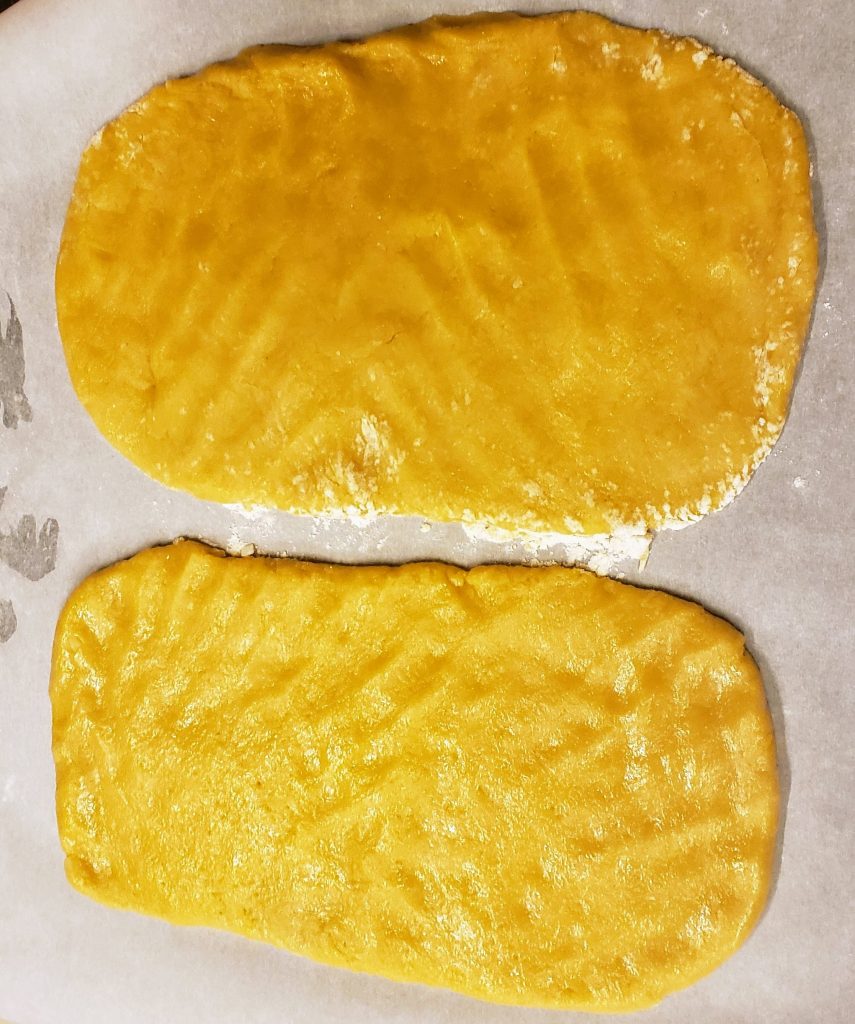
7. Place the dough onto the same parchment you used for sifting the flour. Make sure you have a little flour on the parchment (1/4 cup).
8. Using the rubber spatula, cut the dough in half and use the parchment to help shape each half into a rectangle.
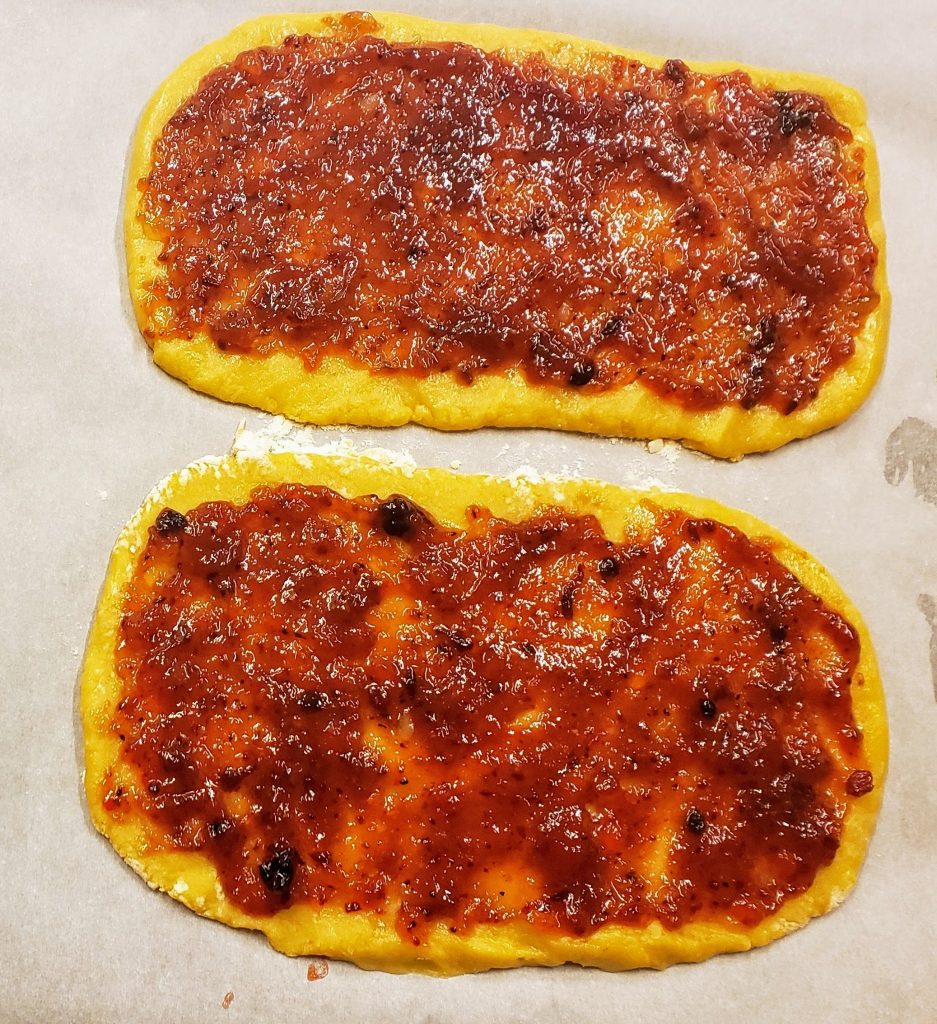
9. Pat each rectangle out to 5×10 inch size with your fingers. spread the jam on each half of the rectangle leaving a 1/2-inch border on the edges with no jam.
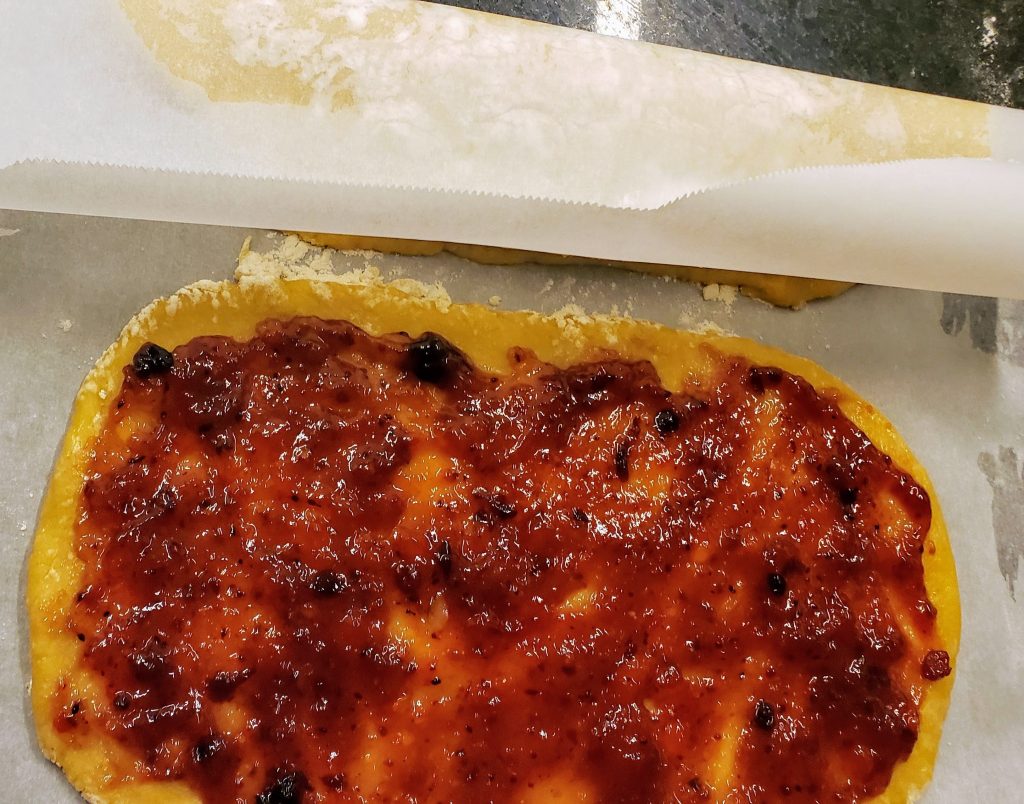
10. Using the parchment, fold the jam-covered rectangles into 2×10 inch rectangles. Pinch the edges of each rectangle to seal so that the jam doesn’t leak out when they are baked. Do your best to straighten out the top and bottom of the loaves to resemble a rectangle.
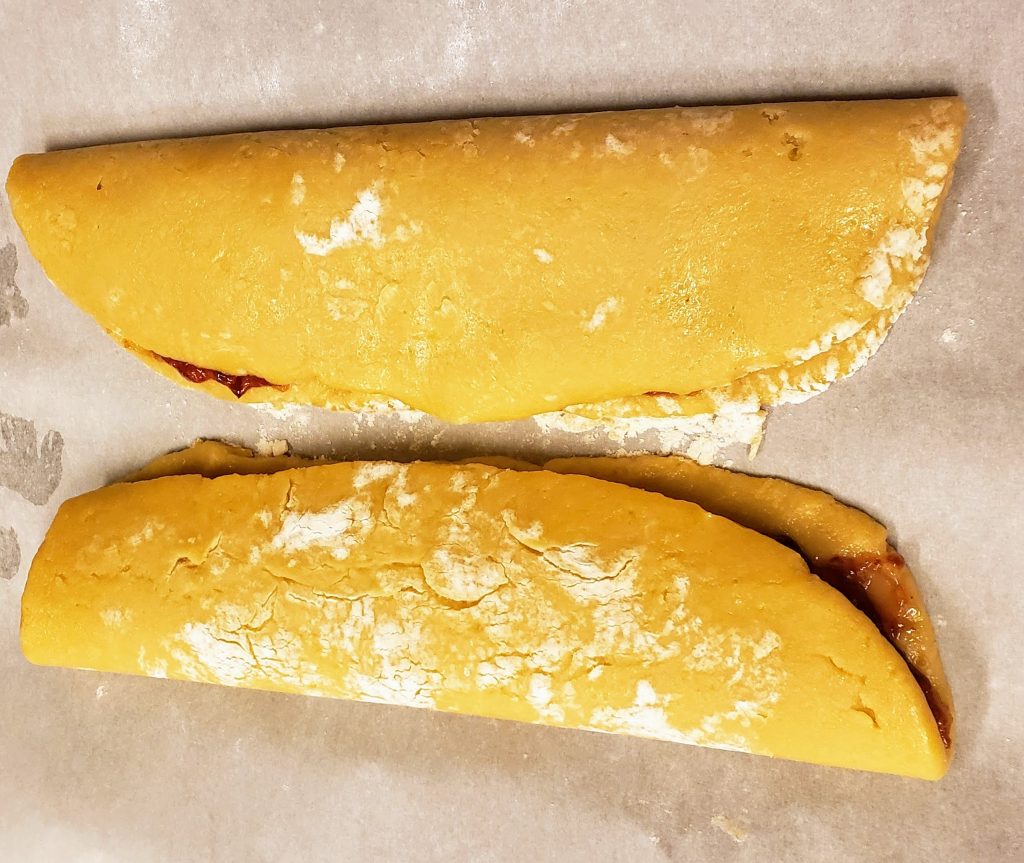
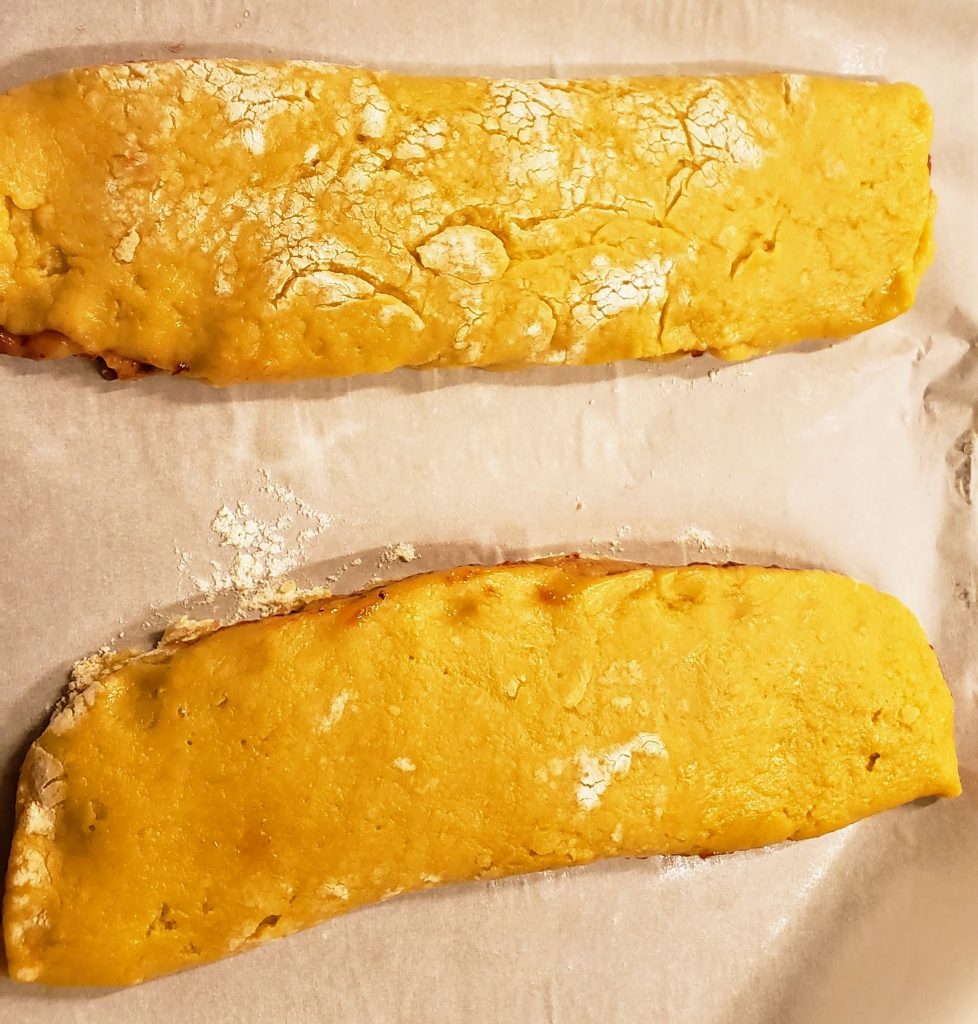
11. Using the parchment, place the two loaves onto a cookie sheet or jelly-roll pan. Space the two rectangular loaves about 4 inches apart as they will double in size when baked.
12. Bake for 20-25 minutes or until the center of the loaves is no longer wet to the touch.
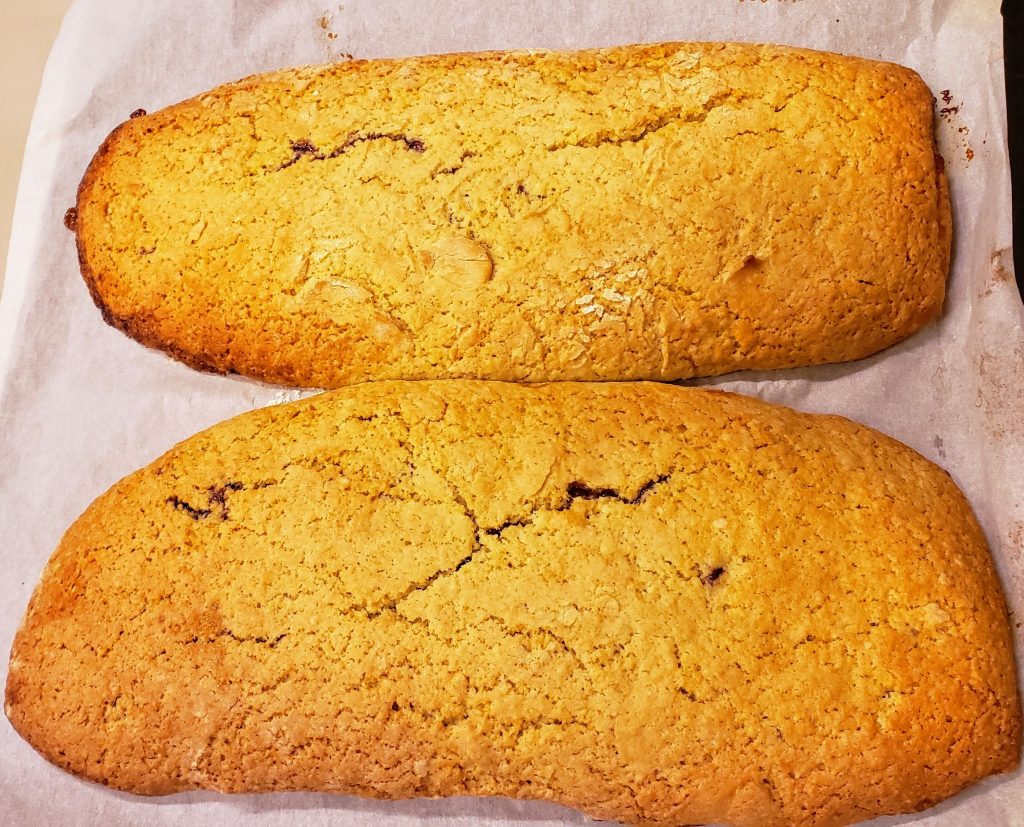
13. Cool completely before cutting. I first tried a pizza cutter to slice the biscotti but found that it crumbled the cookie surface. I quickly switched to a small, sharp knife which worked beautifully.
See picture below. The biscotti loaf on the bottom was partially cut with the pizza cutter and the rest was cut with the small sharp knife.
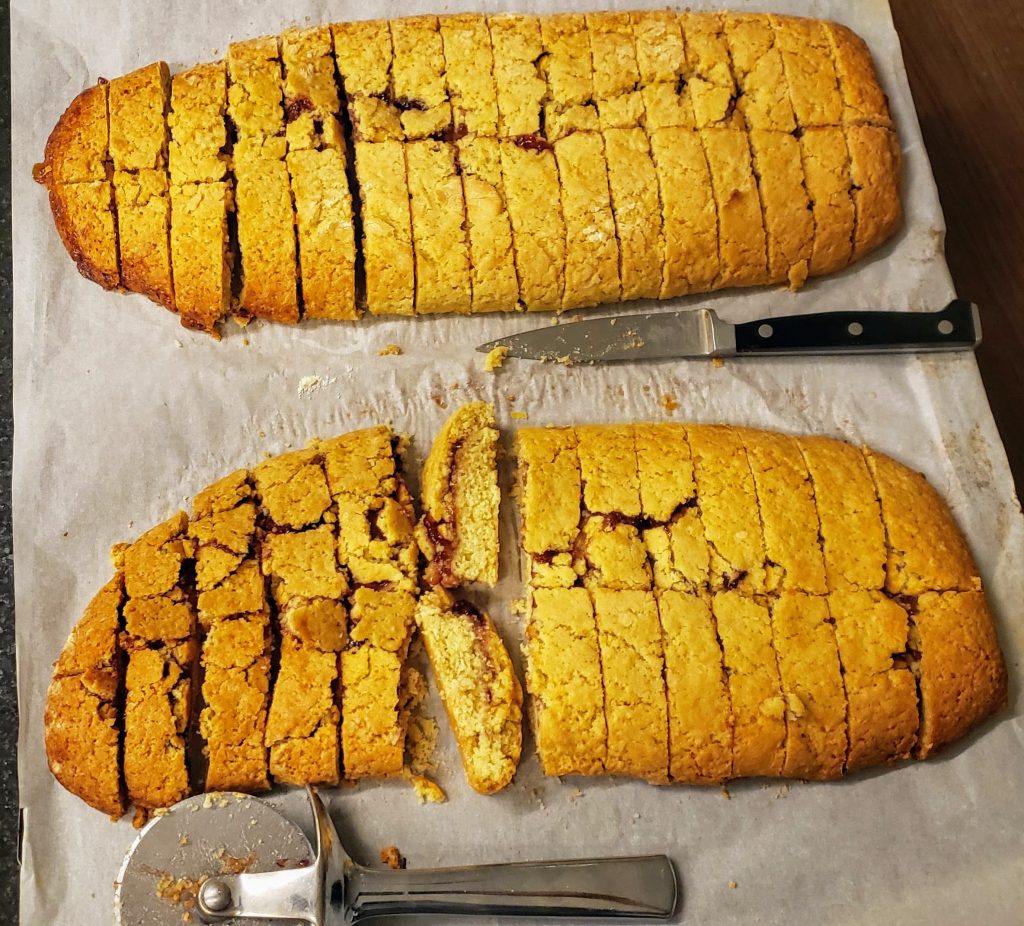
14. I sliced each loaf in half vertically and then cut each half into 1/2-inch thick biscotti.
Notes: *This recipe is an excellent opportunity for you to get rid of a lot of different jams in the refrigerator. I have mixed together several with fantastic results. For this recipe, I really used some orange marmalade, some lingonberry and mostly the cherry. Just use what you have on hand.
I have also made this recipe with 1/2 cup butter only, however, I found the combination of butter and vegetable oil to be superior in texture.
I want to mention that salted butter, while having a longer shelf-life in the refrigerator, also has additional water to help dissolve the salt. While the 80-100 grams of salt per tablespoon can be adjusted for by reducing the salt in the recipe by 1/4 teaspoon for every stick (1/2 cup) of butter, it will not help with the texture, as the added water will not allow for the air pockets needed to make a tender pastry crust. This can make a difference in the resulting texture of your baked goods.
I never use powdered sugar for dusting, but I’m sure it makes for a more beautiful presentation.
Written by Anju Kapur of Anju’s Table. All content and images on this site are copyright protected. Please do not use any of my images without my permission. Should you wish to share this recipe on your site, please add a link to this post as the source.